Maker Methodology
STEP 3: DESIGN AND CHOOSE
Design
Maker Mock-Up: A Tool for Creative Ideation
Maker Mock-Up: A Tool for Creative Ideation
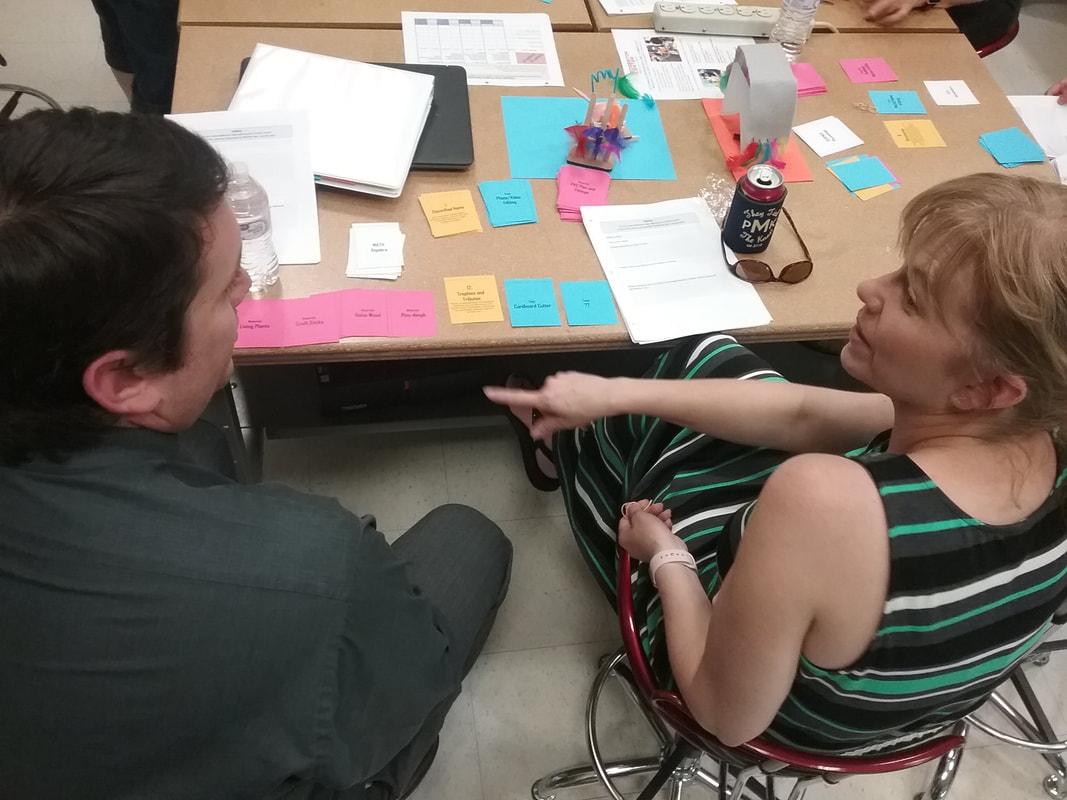
"...The card game was a real game changer in terms of pushing lessons into new places, and allowed for some really great collaborative ideas."
-Nicole Winters, Art Teacher, Littleton Middle School |
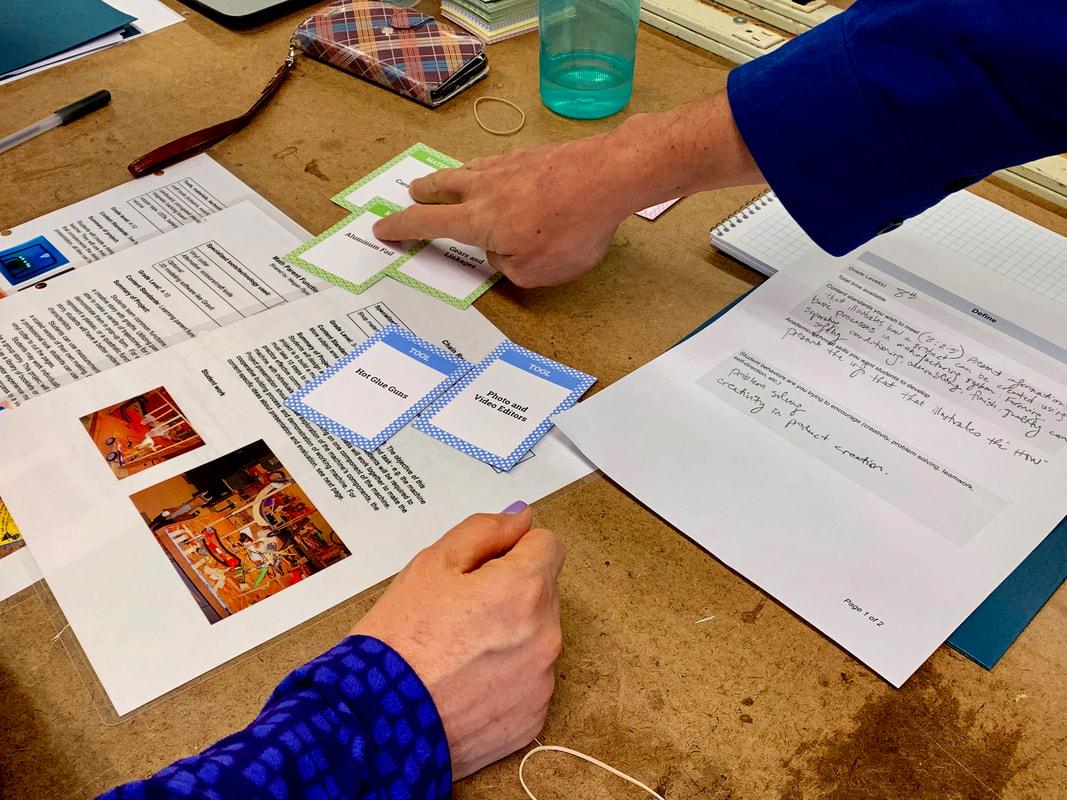
Download and use this game with colleagues to start creative conversations about how and what your students can make. A deck of Maker Mock-Up cards includes Tool, Material, Object, and Focus cards. Here's how to use it:
Prep the deck - remove any cards with tools/materials you don’t have; shuffle each category separately. Choose one subject card OR your content standard. Deal one hand for the group: Combine cards to come up with 3+ ideas for projects Or...make up your own rules! Leave out a Focus card, time your rounds, pitch competing ideas - make this game what you need it to be. |
Play Maker Mockup Online!
Choose
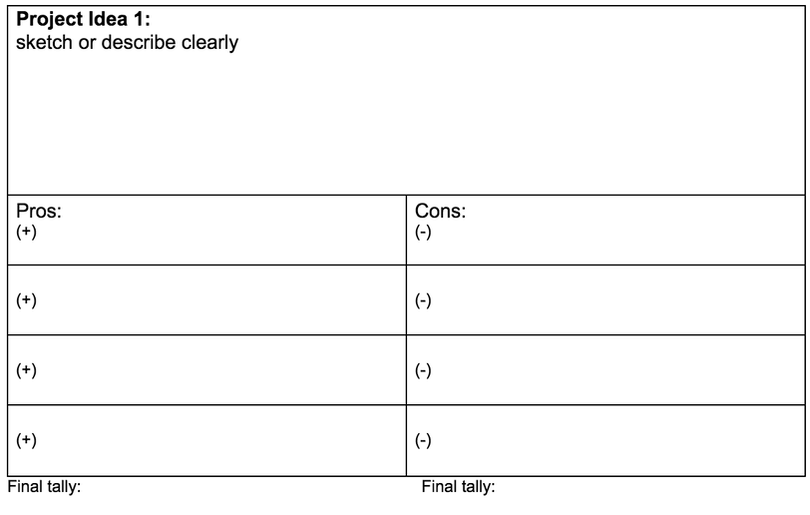
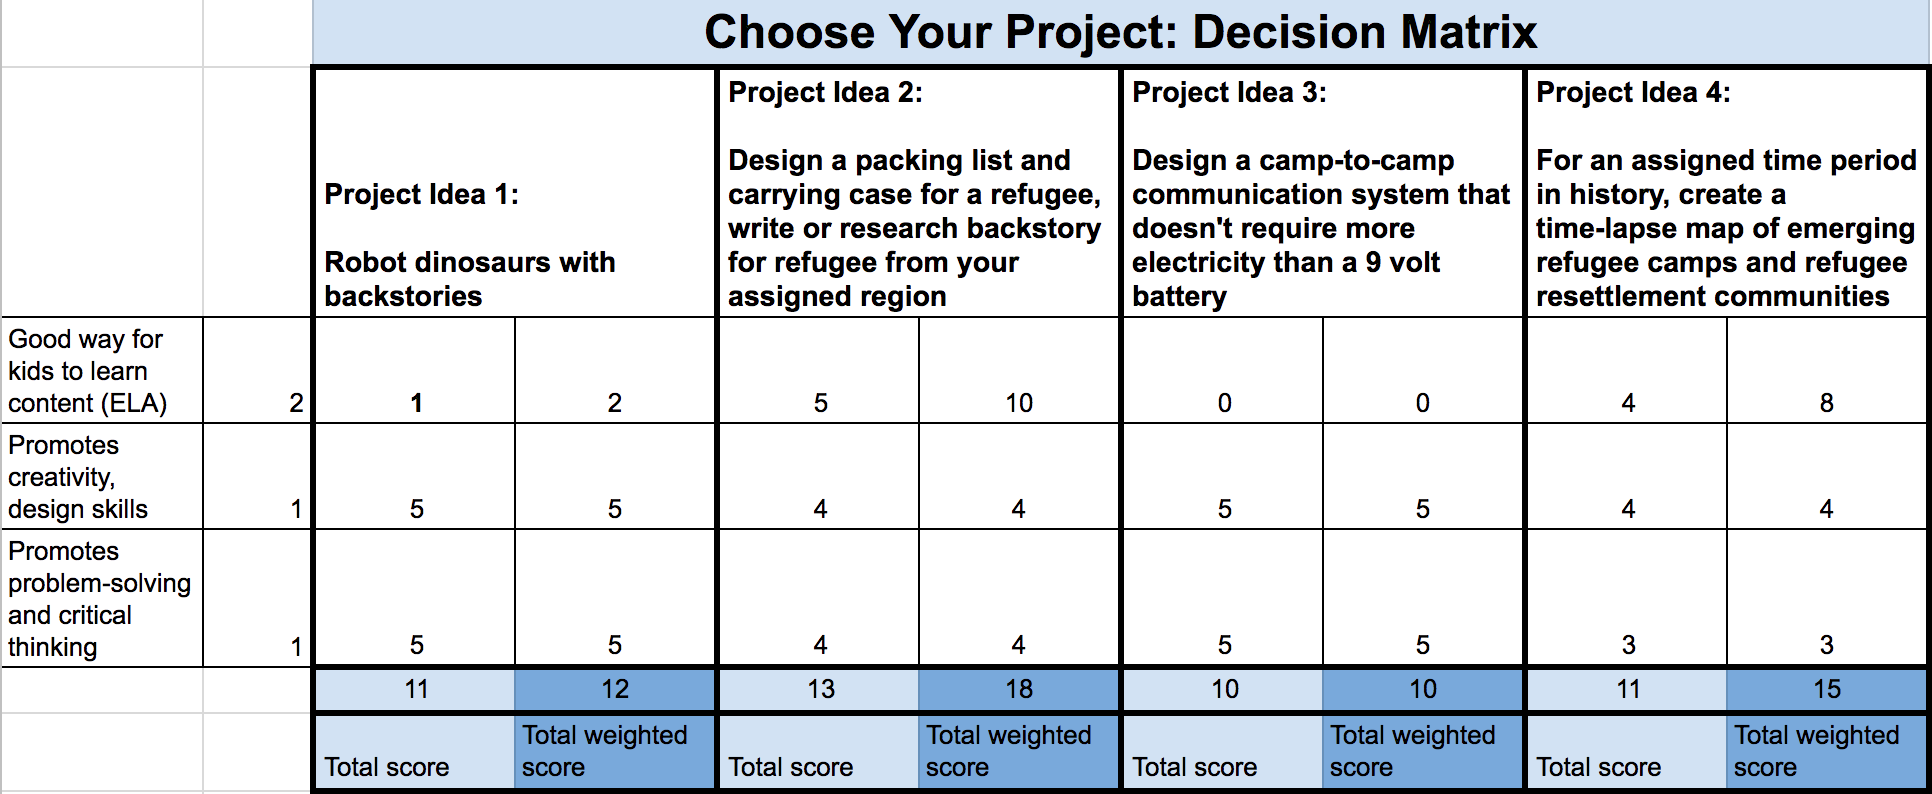
After creating some project ideas, it can be tough to choose the best one for your needs. We offer 2 tools that can help you.
(Hint - students can also use these tools when it's their turn to choose their own project idea.)
(Hint - students can also use these tools when it's their turn to choose their own project idea.)
|
The Pro/Con list lets you consider important strengths and weaknesses quickly, but the criteria/constraints are not clearly defined
|
The Decision Matrix helps you discuss each project in depth - it lets you define and weight your criteria and constraints, and helps you rank ideas. Be prepared for your team discussion to take some time.
|
DOWNLOADS
|
| ||||||||||
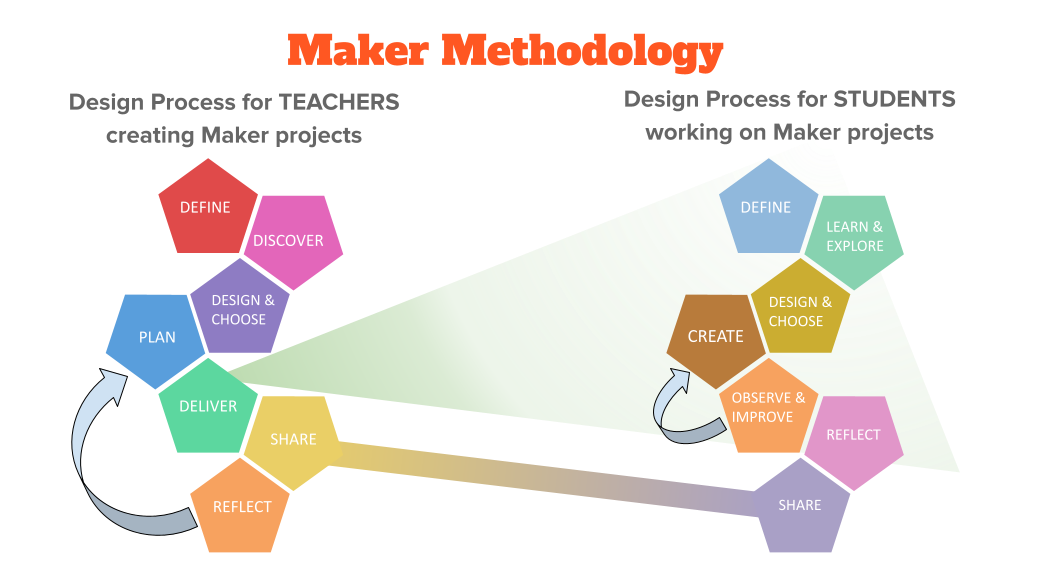
Our Maker Methodology
Click each step for information and downloadable planning tools.
Click each step for information and downloadable planning tools.
- Define your learning goals for the project
- Discover other projects that can inspire your own
- Design and Choose your own Maker project ideas
- Plan the day-to-day details of your project
- Deliver your plan - roll out the project and facilitate your students' work
- Share your students' work with a larger community
- Reflect and refine improve your project plans