MIT Edgerton Center. Build It, Learn It, Share It. MAKERSPACE RESOURCES FOR K-12 EDUCATORS MIT
  MAKERSPACE RESOURCES FOR K-12 EDUCATORS
  • Home
    • Getting Started >
      • What is Making?
      • Types of Makerspaces
      • Goals
    • About Us
    • Contact
  • Run a Makerspace
    • Design Guide
    • Facilities and Storage
    • Tools and Materials
    • Training and Supervision
    • Staff, Hours and Scheduling
    • Events and Growth
  • Maker Tools
    • Shop Tools and Materials
    • Electronics
    • Physical Computing
    • 2D Modeling Software
    • Vinyl/Craft Cutters
    • Laser Cutting
    • 3D Design Tools
    • 3D Printing
    • Photo and Video
    • Sewing
  • Create Projects
    • Designing Maker Projects
    • Idea Gallery
    • FullSTEAM
  • Teacher PD
    • Teacher Training Workshops
    • Articles and Books

Physical Computing

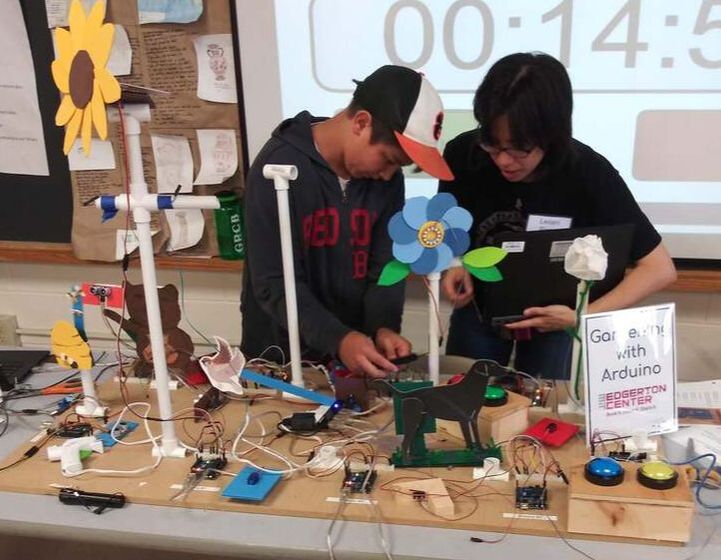
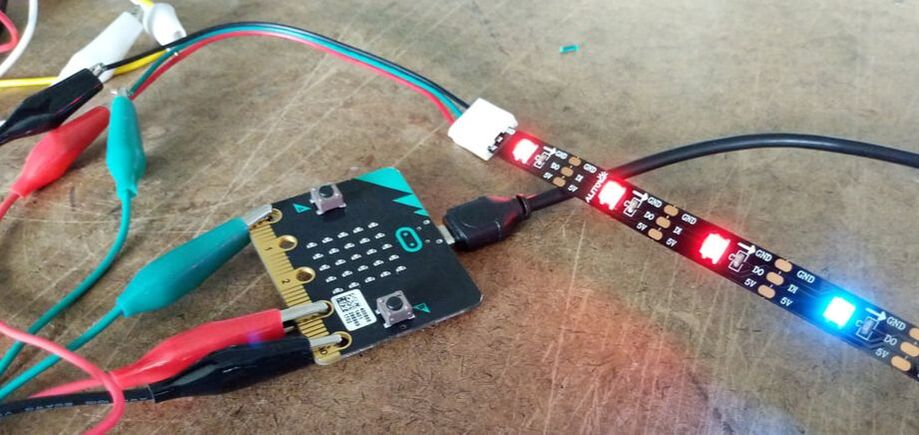
Physical computing involves interacting with the physical world in addition to a screen.  You take in data from light, motion, or temperature sensors, and control devices such as motors, speakers, and lights.  Physical computing is fun, engaging, and makes learning to code easier and more understandable.  

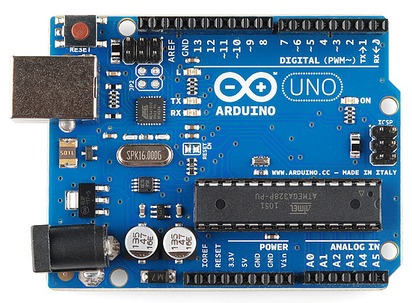
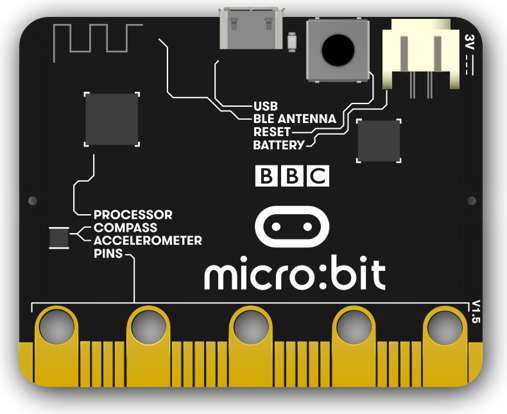
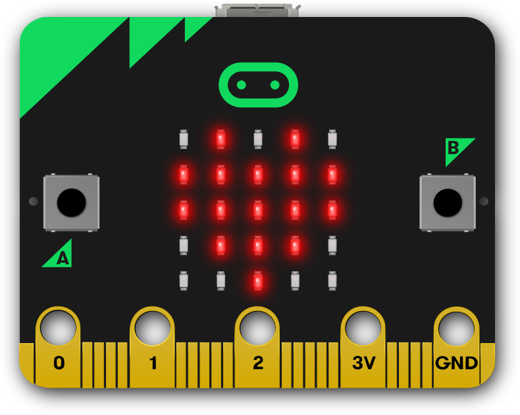
Two well-supported and easily found platforms are micro:bit and Arduino.  Both are great for students and adults to learn on and make interactive electronic projects.


Arduino microcontroller

Arduino microcontrollers are low-cost open source boards well-suited to controlling interactive electronic devices.  They are powerful and versatile, with a wide range of accessories availabile, and a huge community of users around the world that provide easy online support (forums, Instructables, websites, etc.)  Coding is done through a downloaded Interactive Development Environment (not for Chrome books) and is done in Arduino C (text).  The browser-based version of the IDE is available but not free.  Connections to the Arduino are made with solid hook-up wire or jumper wires.  A solderless breadboard is usually needed, but soldering is not necessary.
The biggest challenges with the Arduino are the text-based interface and the breadboards.  There are some block code interfaces, however, this does not solve the breadboard barrier.  If a student canot handle the precision of text-based coding, they probably are not ready for a breadboard. Students 10th grade and up should be bale to handle Arduino, and students younger than that can use Arduino well if they are self-directed learners.
Official site (with ​setup, references, forum, etc)
Arduino.cc - Getting started

​
Other Arduino Tutorials - there are many available online. Here are a few:
Programming Electronics Academy - free video tutorials
https://programmingelectronics.com/
​
Sparkfun (lots of accessories and tutorials)
Sparkfun Inventor's Kit Experiments
​

Instructables.com (DIY guides, tutorials, and on-line classes)
Instructables: Introduction to Arduino Class
Picture
Picture
Picture

Edgerton Center activities 

​developed for Outreach programs with middle and high school students

Arduino Garden activity

We designed this activity to introduce kids as young as 6th grade to physical computing, without breadboards! 
Students brainstorm, build, and code characters and objects they might find in a garden - buzzing bees, smiling flowers, gnomes, or something less traditional. Although this activity requires considerable fabrication in advance, it can be used over and over again.  

​​
Picture
Bear swats at bees when they fly by
Picture
Arduino Garden activity in action with middle school students
Picture
Buttons control lights and motion of dragon

Micro:bit programmable computer

The BBC Microbit is a low cost microcontroller and is a great platform for those not yet ready for Arduino (down to grade 4). ​The board itself has lots of onboard sensors and an LED grid display and the coding environment includes a built-in onscreen simulator.  Micro:bit is easy to get started on, and yields fun results quickly.   Coding is done through a browser-based interface (Chrome book ready) and is done in Makecode (blocks) or Python (text).  Connections to the micro:bit are made through 5 copper- plated holes on the edge of the board (sized for banana plugs), or through a solderless breadboard if you buy an adapter.   There is a large and growing ecosystem of accessories, interfaces, and code extensions.
A big challenge with the micro:bit is the difficulty in connecting to the board via the 5 holes.  Alligator clips move around a lot.  Wire wrapped around them fails after a short while because the electrical contact gets weak.  Another challenge is the 3V output voltage.  Servo motors are fun, versatile, and easy to control on the micro:bit, but they barely work on 3V.  Whether you are using servo motors or not, make sure to get a battery pack that takesf AAs, not AAAs, which have a lower current capacity. 

Picture
Picture
Picture
Picture
Edgerton Center Projects
​developed for our teacher workshops
"Harvey", a simple but expressive robot face
Automatic plant watering machine
Doorbell with Messages
Mechanisms behind Harvey's face
Light-sensing Theremin
Compass

Contact Us

About Us
Accessibility
​Privacy
  • Home
    • Getting Started >
      • What is Making?
      • Types of Makerspaces
      • Goals
    • About Us
    • Contact
  • Run a Makerspace
    • Design Guide
    • Facilities and Storage
    • Tools and Materials
    • Training and Supervision
    • Staff, Hours and Scheduling
    • Events and Growth
  • Maker Tools
    • Shop Tools and Materials
    • Electronics
    • Physical Computing
    • 2D Modeling Software
    • Vinyl/Craft Cutters
    • Laser Cutting
    • 3D Design Tools
    • 3D Printing
    • Photo and Video
    • Sewing
  • Create Projects
    • Designing Maker Projects
    • Idea Gallery
    • FullSTEAM
  • Teacher PD
    • Teacher Training Workshops
    • Articles and Books