
Makerspace Design Guide
While there is much more to Makerspace design than laying out a space, it is important to anticipate the overall area needed so it can be included in the facility layout. Within that space many issues will influence the layout - locations of doors and windows, access to electricity and ventilation, plumbing for sinks, and opportunities to create secure areas. This guide is intended to help you allocate the space before you begin the detailed design.

Shared Makerspaces are often situated in libraries, media centers, or other common spaces. They may be booked for use on an as-needed basis, host some regularly scheduled classes, or both - often coordinating with project-based work in other classrooms. Curriculum integration with all academic classrooms can result in a wide variety of projects and learning experiences.
A variety of people with diverse skills and perspectives should be included in the design and possibly implementation process. In a school setting that would include administrators, instructors, curriculum coordinators, students, and community members with experience in shops or Makerspaces. Making an effort to include a preference from each invested group will pay off as the operation proceeds.
Overarching Design Rules
Define your educational and experiential goals
Launch the design of a Makerspace by determining the intended audience and range of uses before starting to lay out the space or select tools. Identify the educational goals and types of activities anticipated (individual creations, large projects, robotics competitions, etc.). Think about the kinds of experiences you want the students to have – collaborative, validating, hi-tech, inspiring – and think of how other spaces create that feeling. While other school spaces may be used for parts of a project, the makerspace will likely be the site for most or all of the stages essential to a good Maker project: design, prototyping, testing, and communication of solutions.
Leave room for new equipment and resources
Start simple and build up the functionality (available tools and materials) over time. It can easily take 2 -3 years for a makerspace to become a regularly used asset in a school, and for students and teachers to develop a good “flow” that everyone has become familiar with it. Add equipment over time as needs arise and as curriculum is developed.
Plan a welcoming and safe environment
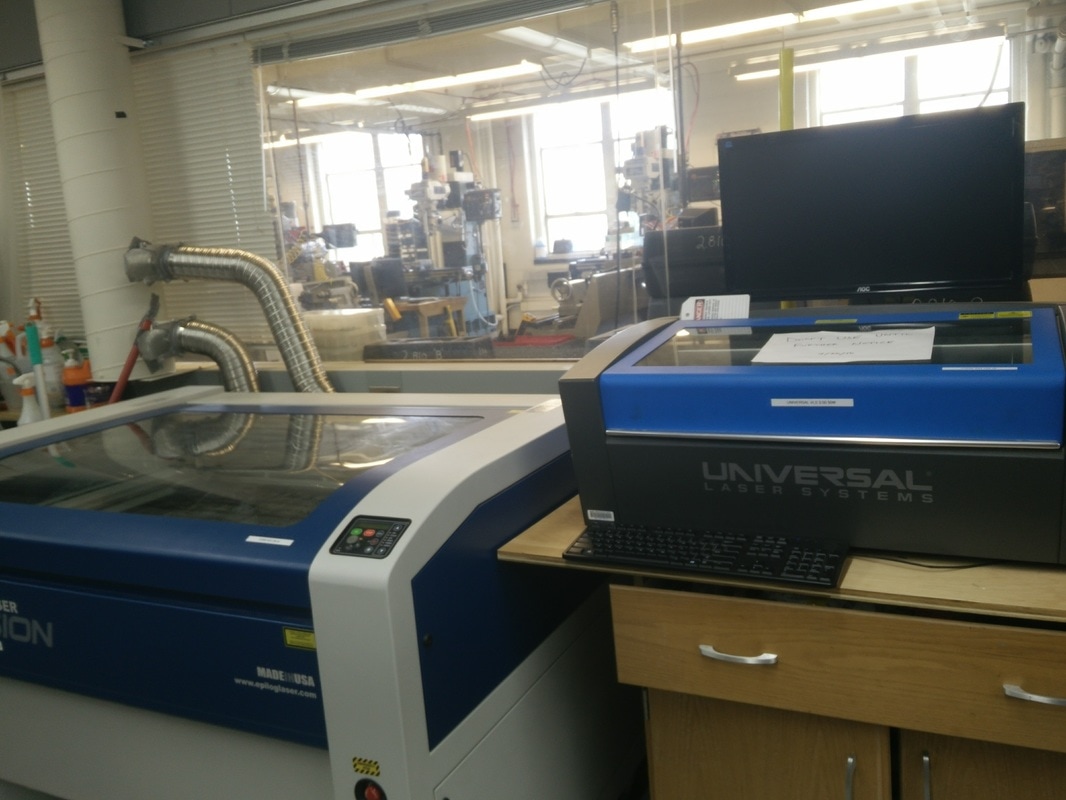
Take ventilation, noise, and safety into account when considering the layout of the Makerspace. Some areas may require limited access and need to be locked off while other parts of the space are in use. Ventilation is essential for laser cutters, sanders, paint booths and other places where chemicals or particles can become airborne. Noisy equipment can make the space inhospitable, and general classroom noise can also be a problem in a large open space.
Space Design and Layout
An effective Makerspace will consist of several distinct areas that can be arranged to fit the space available. Here we suggest an overall size for the space as well as footprints for the individual parts of the Makerspace. The size recommendations are based on those in the book Safer Makerspaces, Fab Labs, and STEM Labs, a Collaborative Guide! 2017, by Kenneth Russell Roy and Tyler S. Love and in the paper Review and Recommendations of Best Practices for K-12 STEM Learning Spaces by the STEM Learning Design LLC
Overall Size
A recommended size for the overall Makerspace is 60 ft² per student. For a class of 25 students this is 1,500 ft², or a room 30 x 50, or a space double the size of a typical classroom
Student seating and unrestricted work/fabrication area
This is the area where classes will gather at the start and end of class and will work at when they are not at restricted machines. It includes flexible yet sturdy tables and seating, unrestricted-access tools such as printers, sinks, whiteboards, storage for students’ personal belongings, and safe digital fab tools such as 3D printers and vinyl cutters. Recommended size is about 25 ft² per student, or a space 600 – 700 ft² for a class of 24 – 28.
Temporary project storage in-process projects
To facilitate flow and promote student self-direction, set up a system where the students can store and retrieve their classwork without much teacher involvement. Consider moveable shelving and under-table storage. Recommended size is at least 100 – 200 ft².
Restricted work/fabrication area
This area contains restricted access tools, machines, materials, and fasteners. It is essential to have room for people to move around safely and have work surfaces near the tools to hold drawings and other related pieces. Tools may include large shop tools, laser cutter, and specialty tools like a kiln, vacuum forger, CNC, etc. Storage is for restricted access/specialty hand tools, materials, and fasteners. Size depends on the number of tools available and the number of students expected to be in the restricted area at a given time. For a limited number of tools estimate 10 ft² for a limited number of tools to 50 ft² for a wide variety. Assuming 5 - 6 students at a time, the space size ranges from 250 ft²- 1250 ft².
Teacher/administrative office area
This is a place for the supervisor/manger to store administrative documents, and general office supplies that are not available to the students. It will include locked cabinets for files, electronics equipment, etc. If this area is at the entrance to the Makerspace it may be appropriate to include project displays. Recommended size is 120 – 250 ft².
Secure tool and material storage area
This is storage for anticipated materials and tools, and a flammables cabinet if needed. Expect that you will need to have some of the space be lockable to store more expensive materials or those that will be saved for later use. Recommended size is 150–250 ft², storage options
Spray booth
A special ventilated area for painting or other fumes (e.g., glues or finishes) and/or flammables cabinet: 100 ft² or large enough for most anticipated projects. Spray booth requires direct exhaust.
Example Makerspace: 1500 ft² including
- 600 ft² for seating and unrestricted work
- 200 ft² for temporary project storage
- 250 ft² for restricted work area
- 150 ft² for administrative area
- 200 ft² for tool and material storage
- 100 ft² for vented spray booth
Facilities and Storage
Layout, Furniture, and Workspace
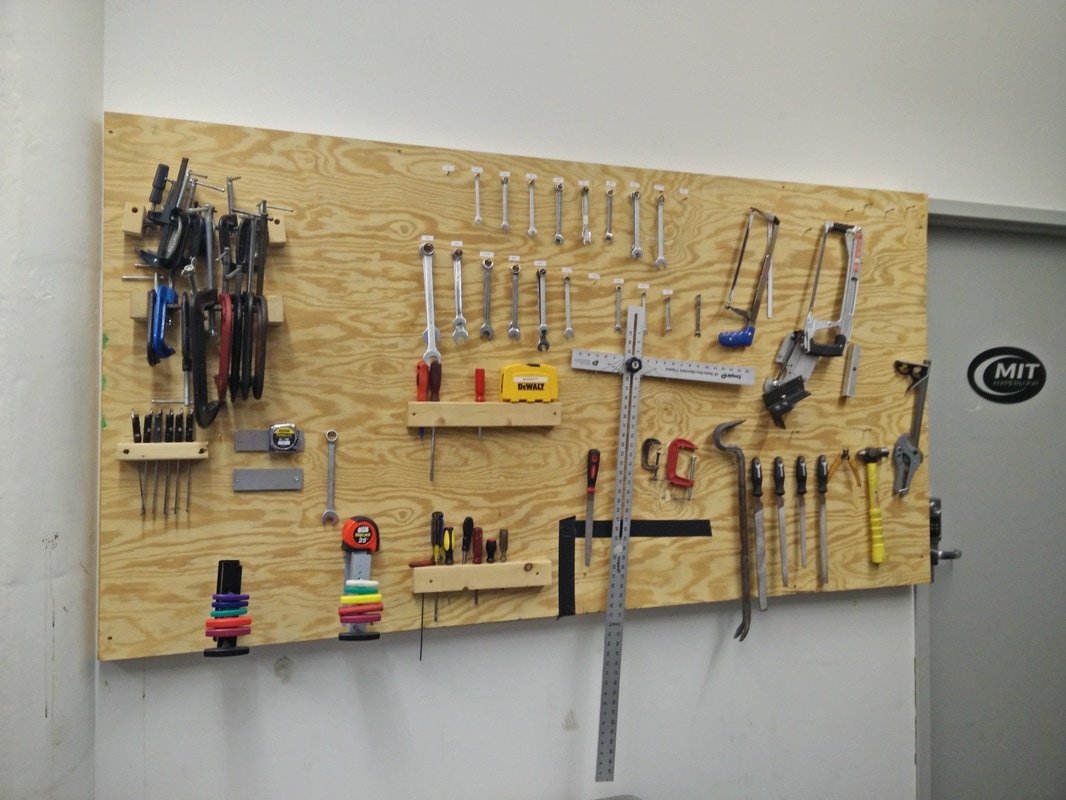
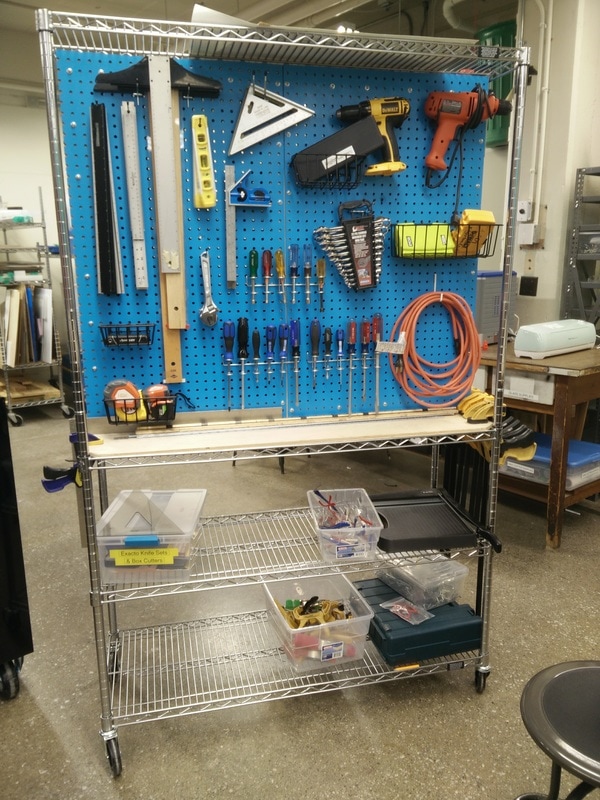
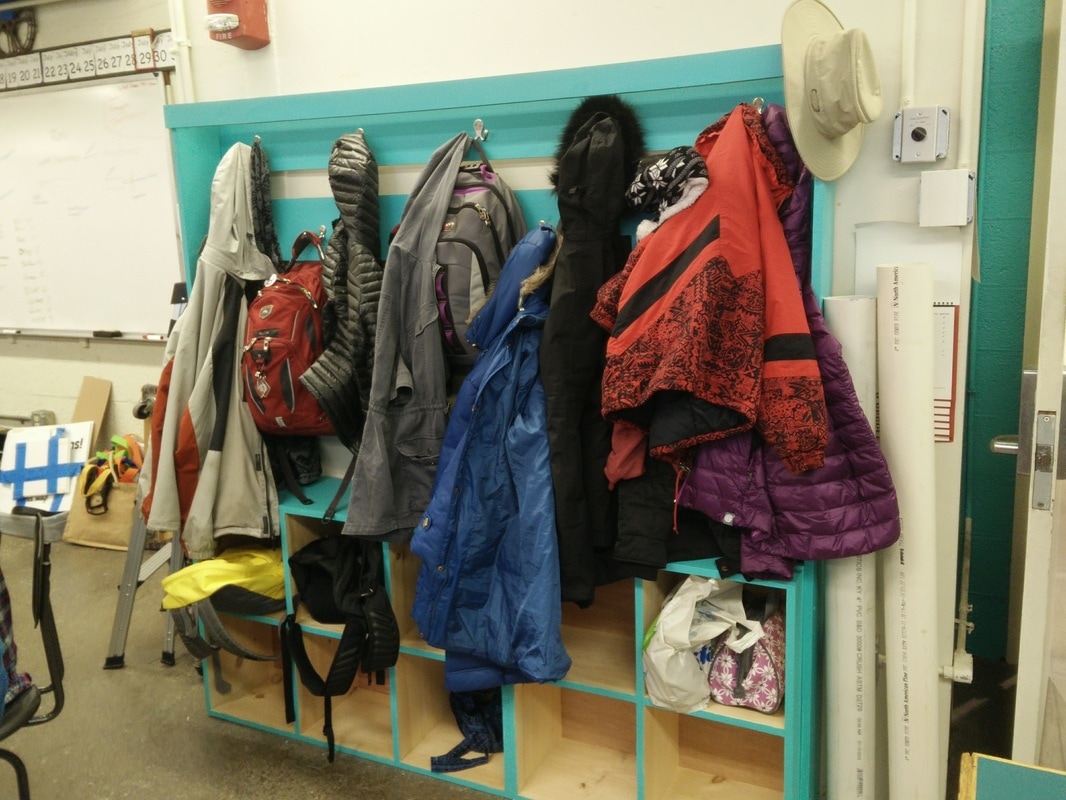
Students need to gather for collaboration and sharing, freely access materials, and move comfortably from place to place. Moveable furniture is good both for rearranging space. Sliding fiurniture may be preferable if the moves are infrequent and the tables are used for fabrication. See how some of the spaces below are set up to make these things easier.




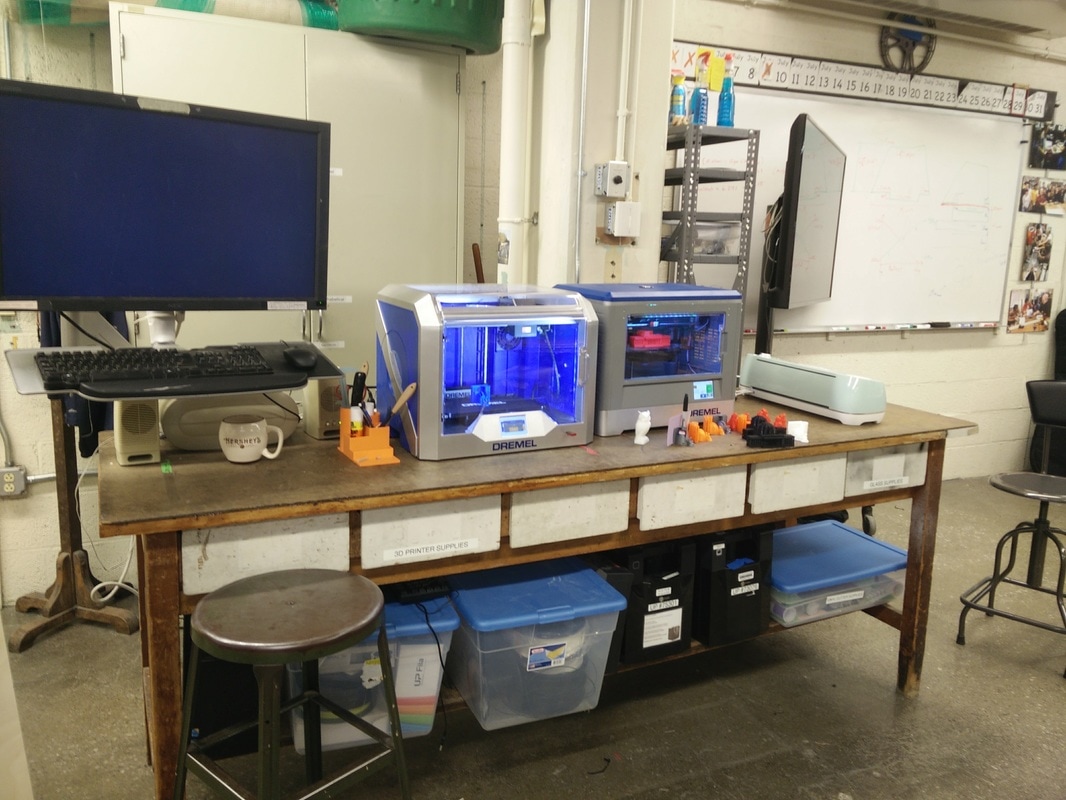
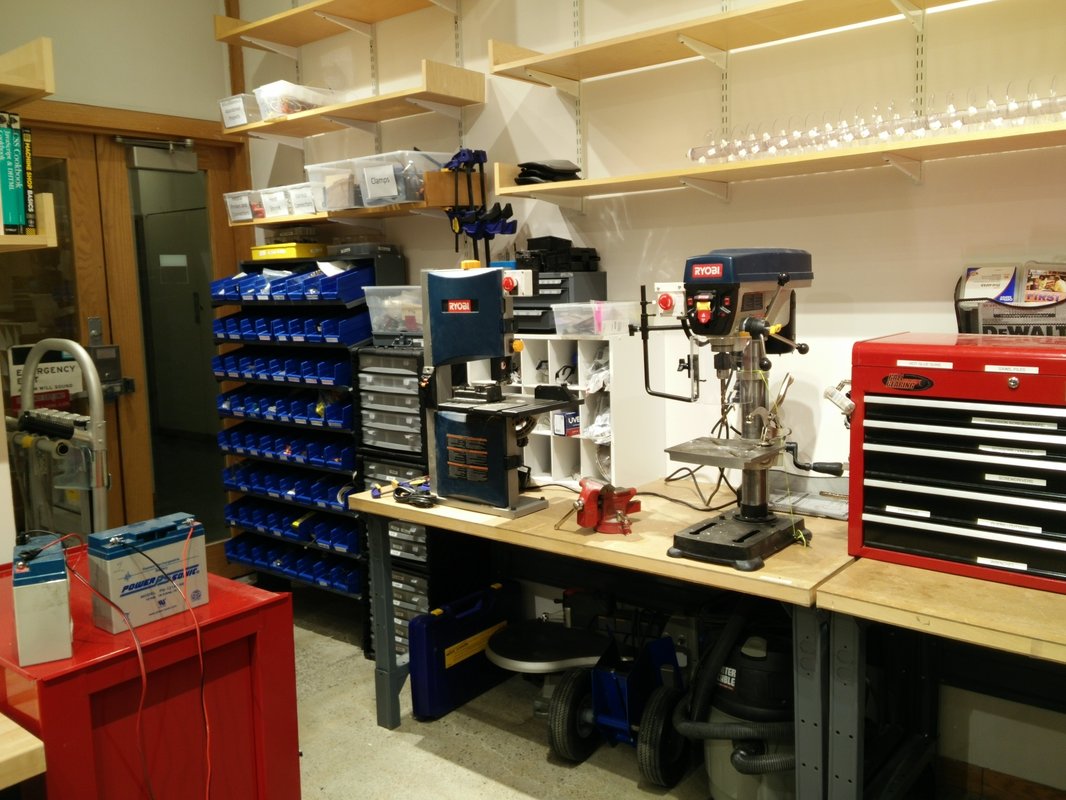


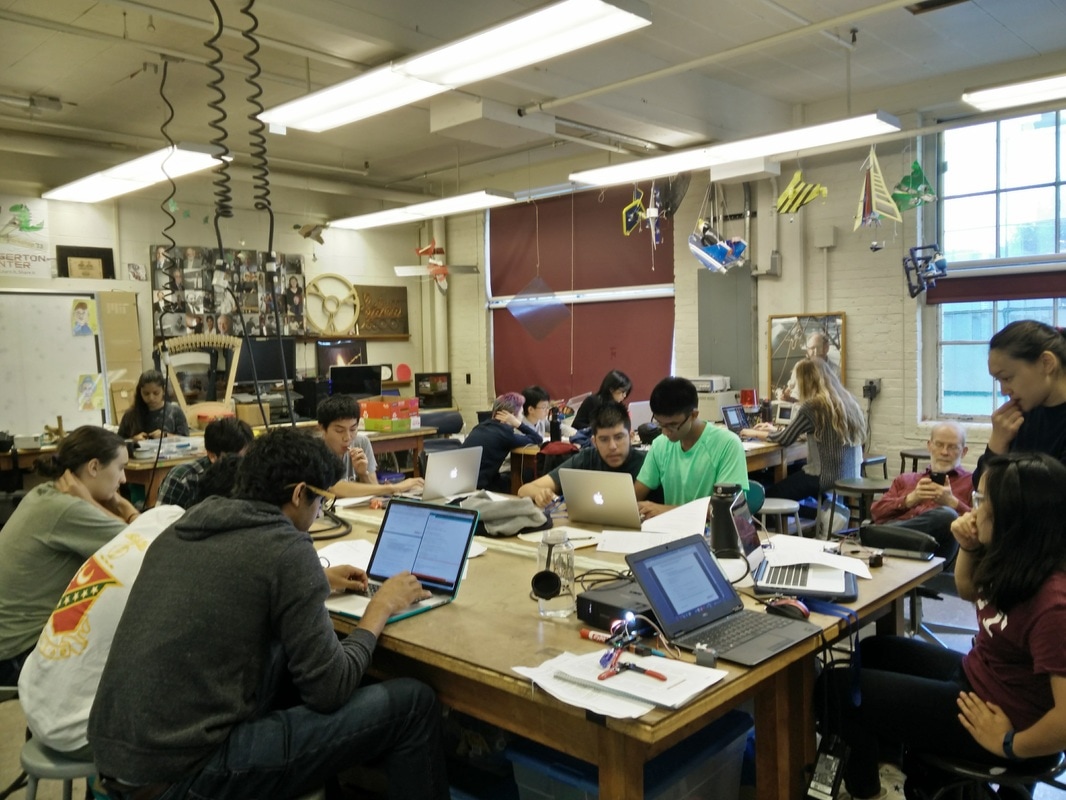
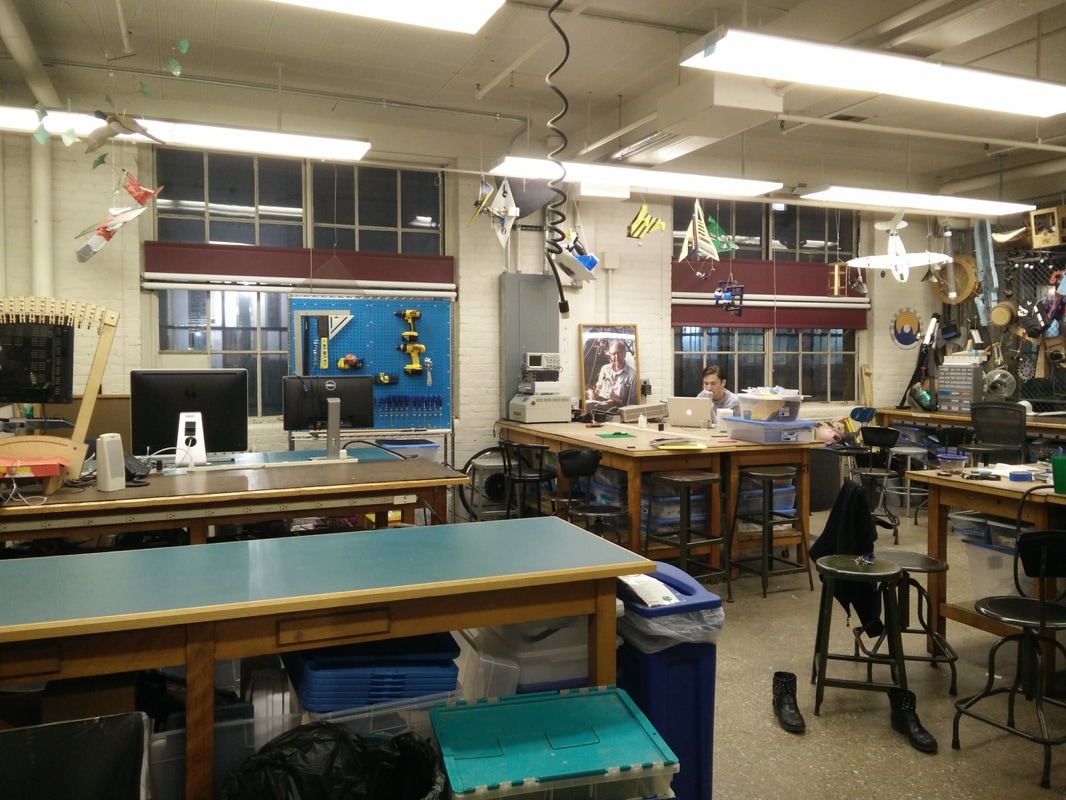

Storage
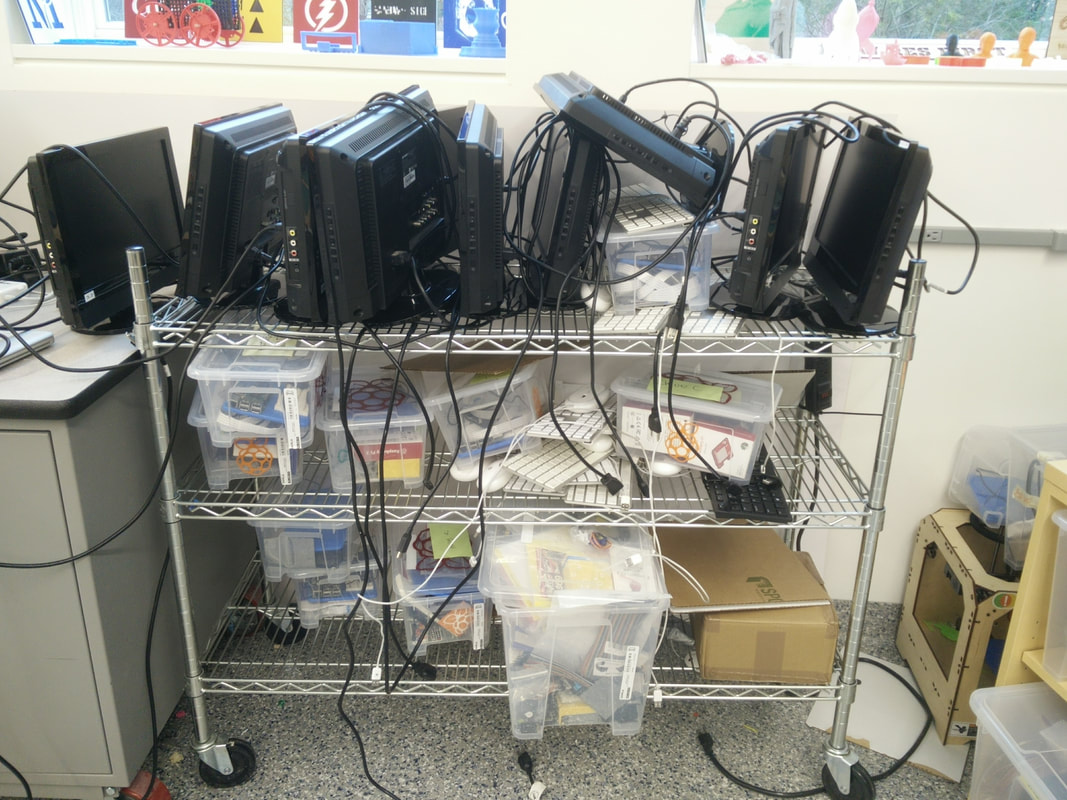
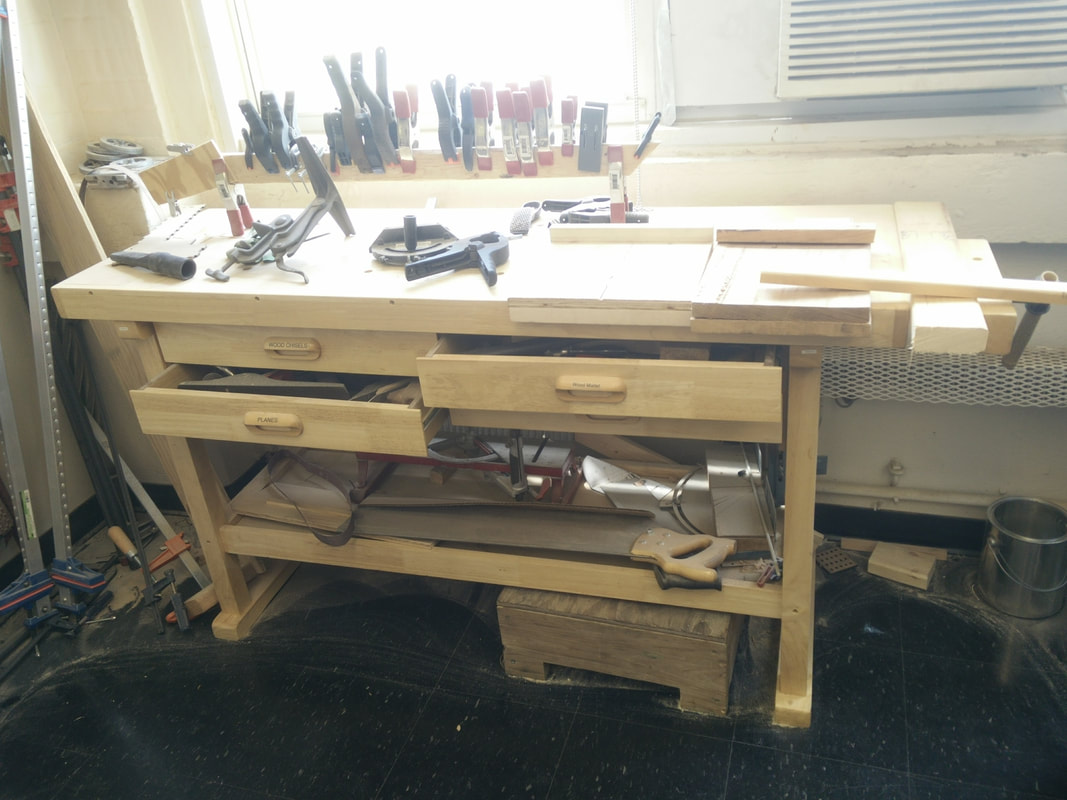
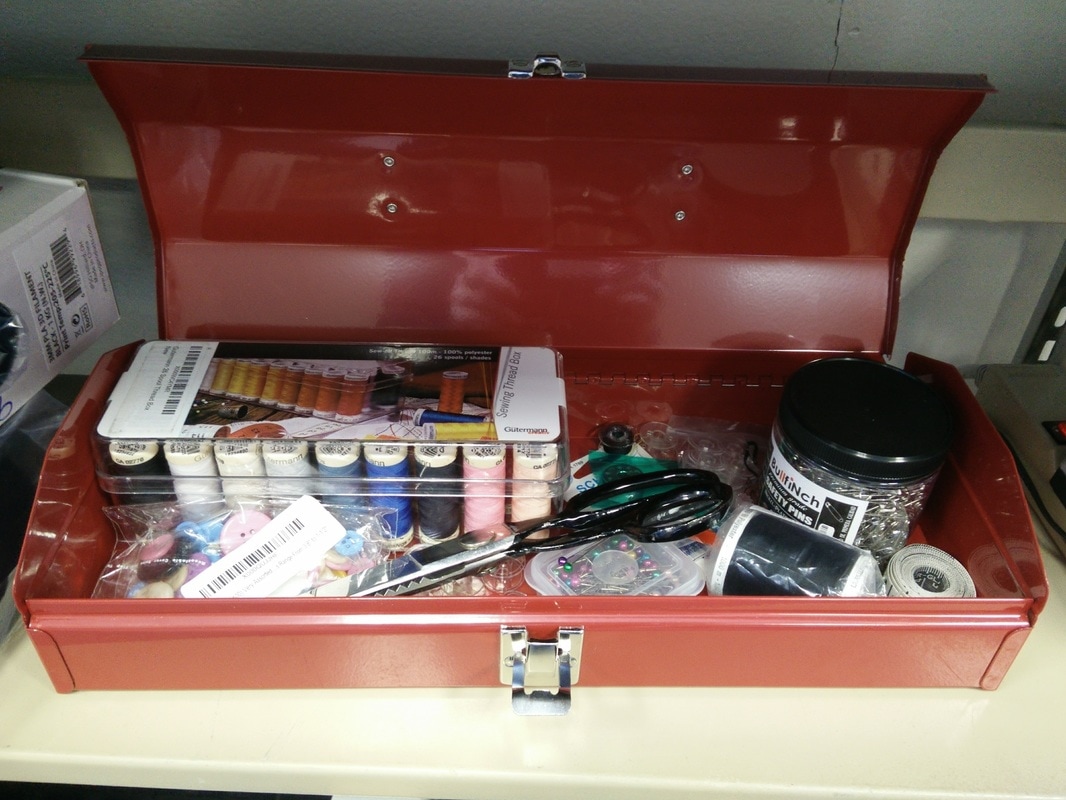
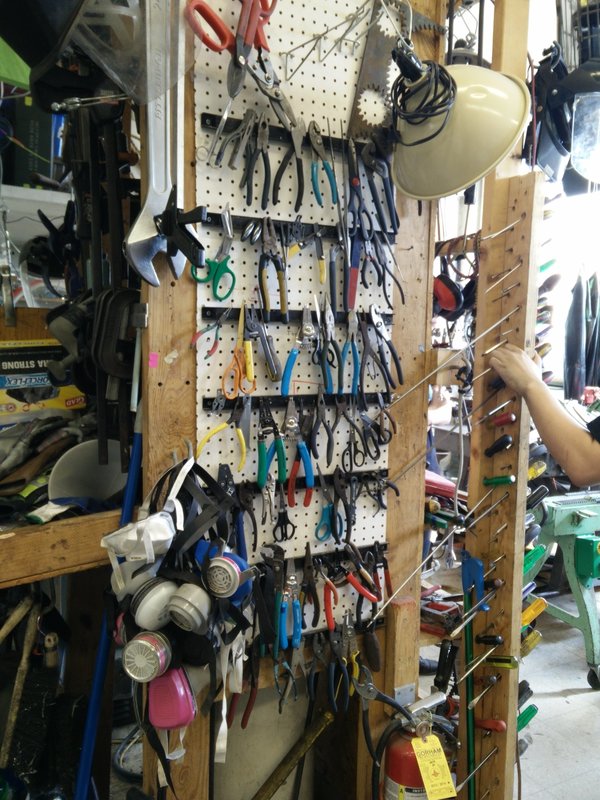
There are many clever ways to store tools and materials, and the most efficient Makerspaces have storage that is both easily accessible and securely contained when the space is not in use. The most common types of storage you'll see in Makerspaces are:
- Traditional shop storage - metal tool chests, steel cabinets, etc.
- Custom storage - things you can build using tools and materials in the Makerspace
- Repurposed storage or shelving









Material Storage
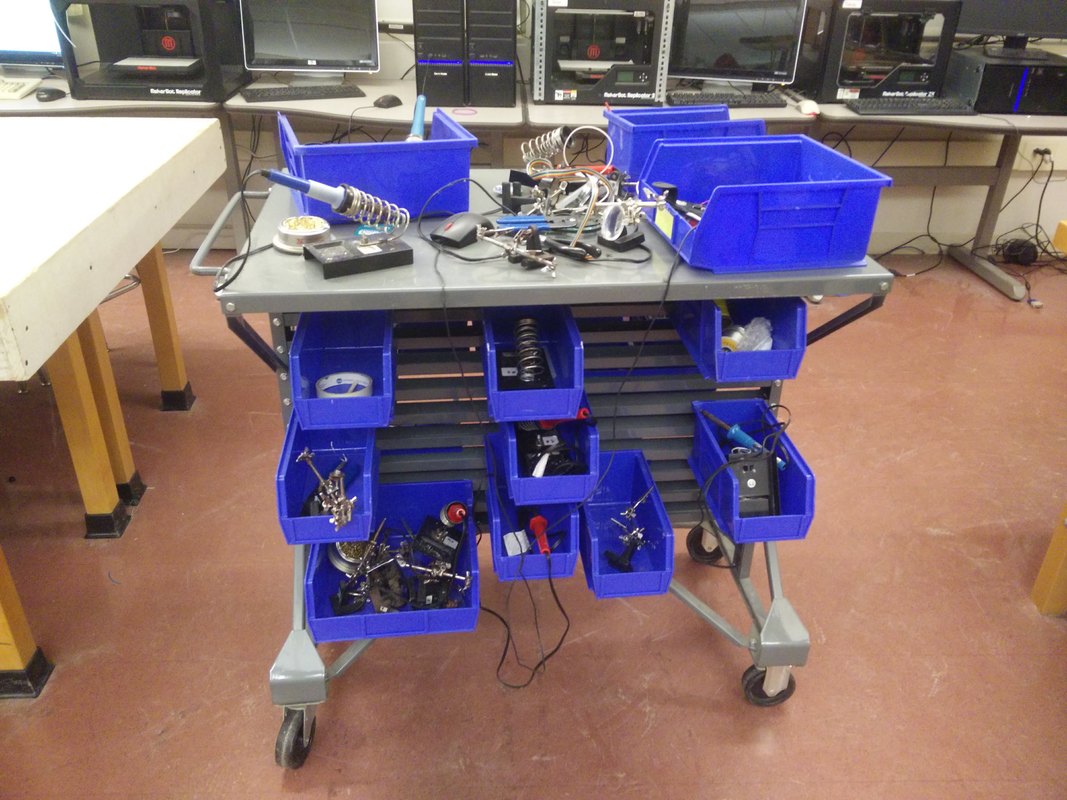
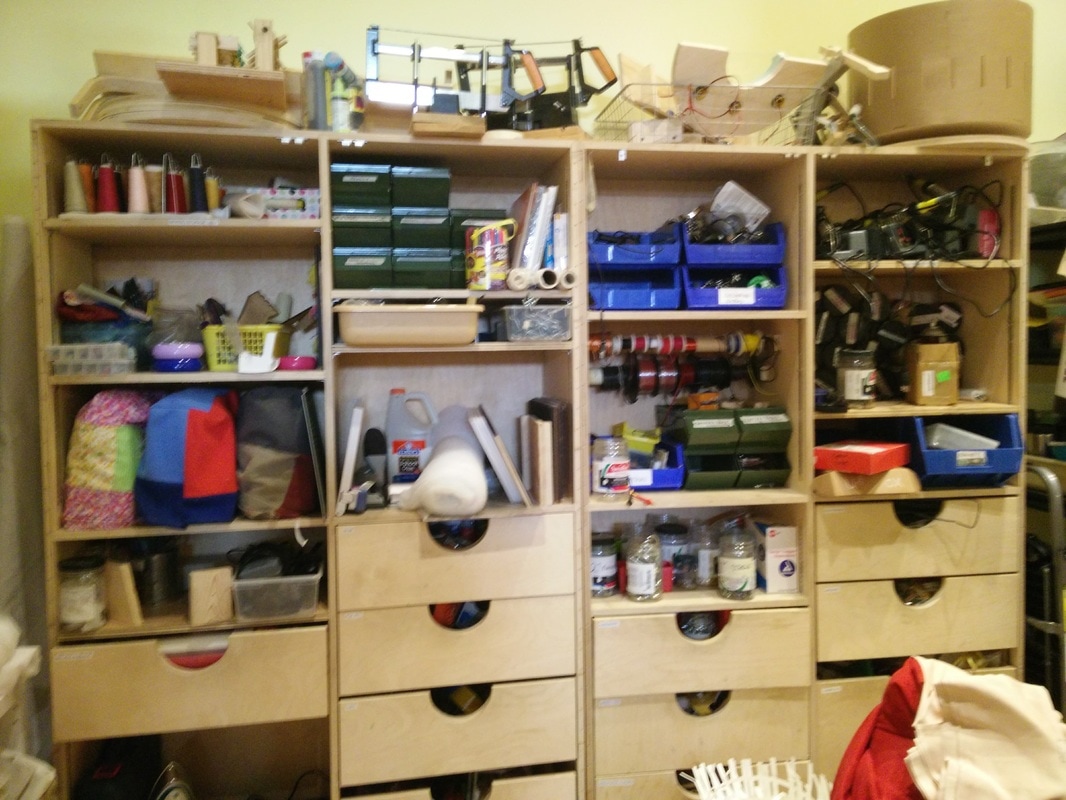
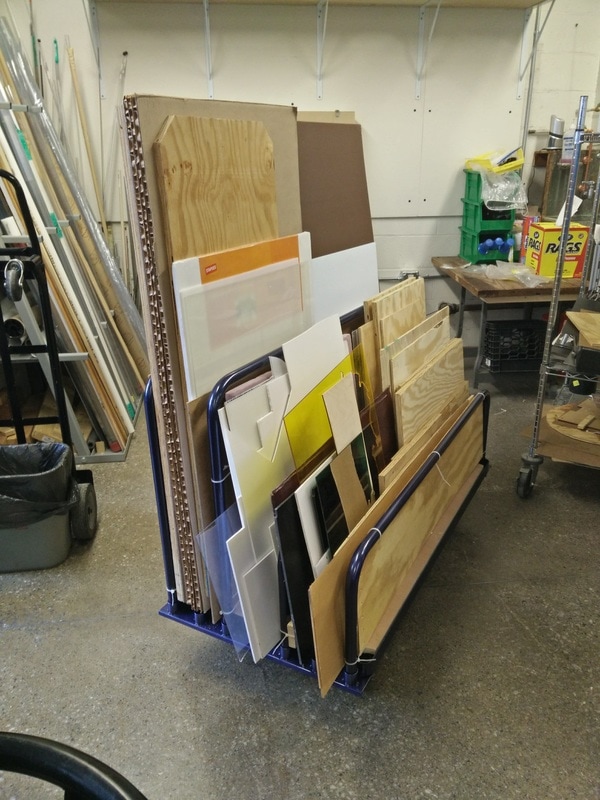
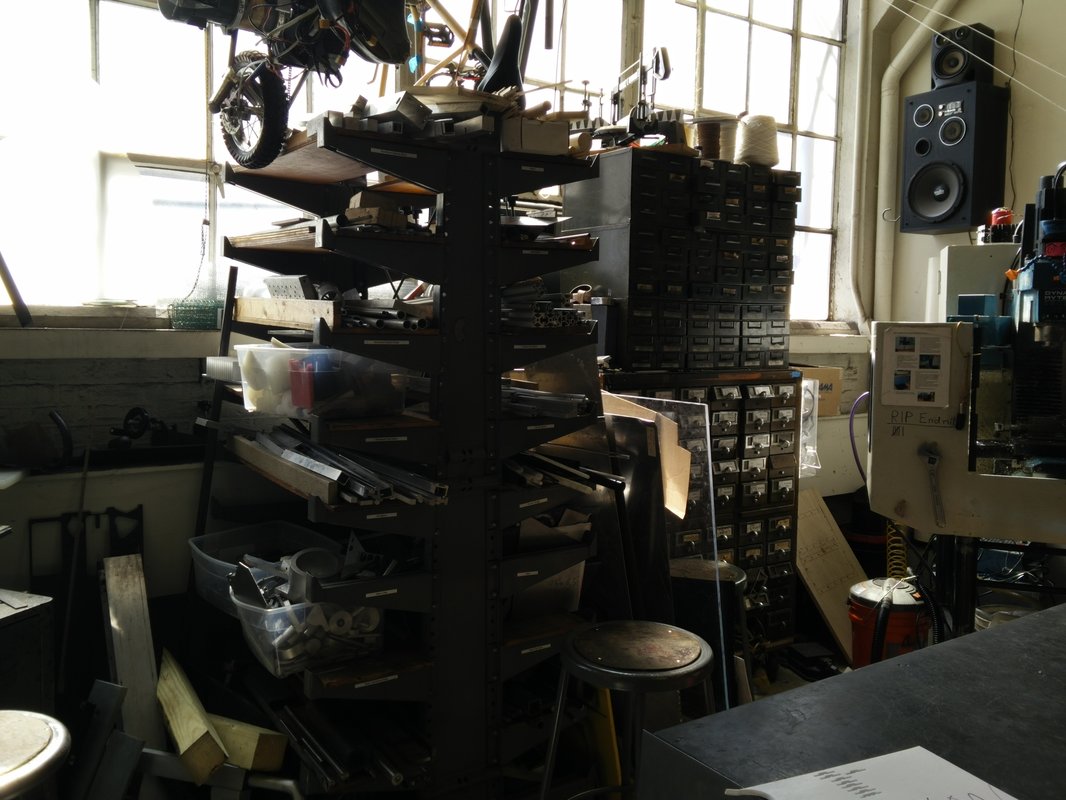
Storing materials can get a bit complicated as materials begin to accumulate in your Makerspace (but this is a good thing!) The key is to try to stay on top of keeping the space organized with designated storage areas for different types of materials and packaging.
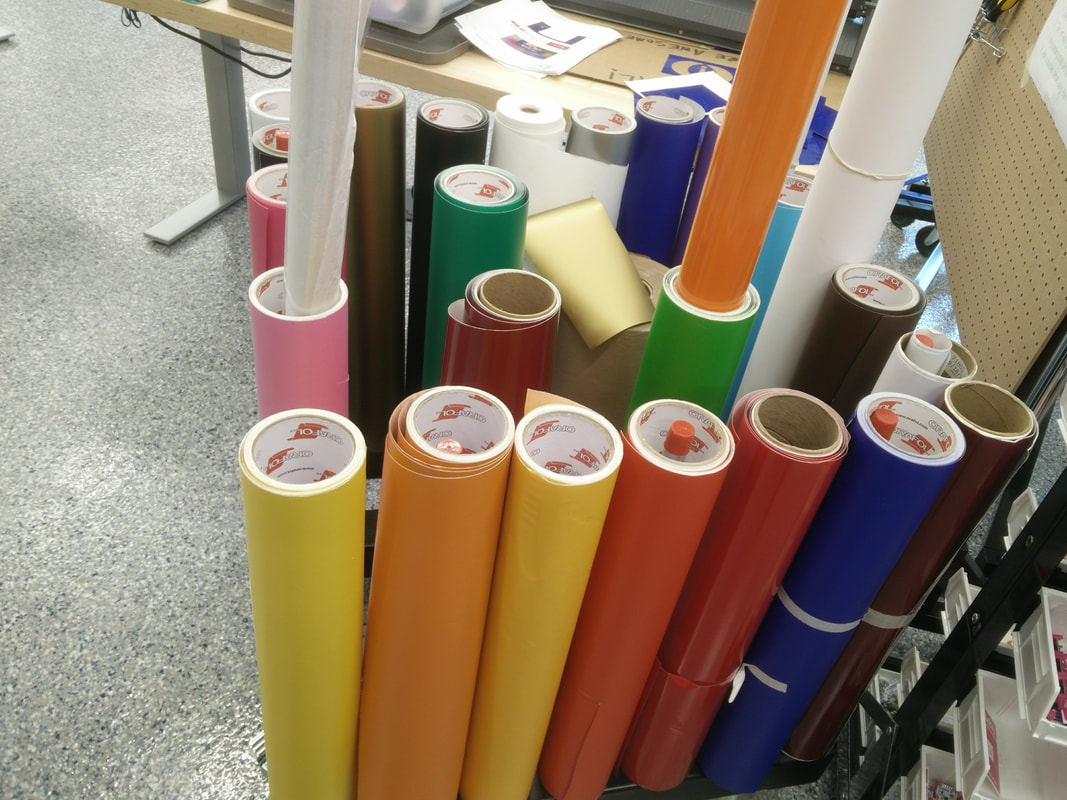
- Stiff sheets and long bars can go on horizontal or vertical racks
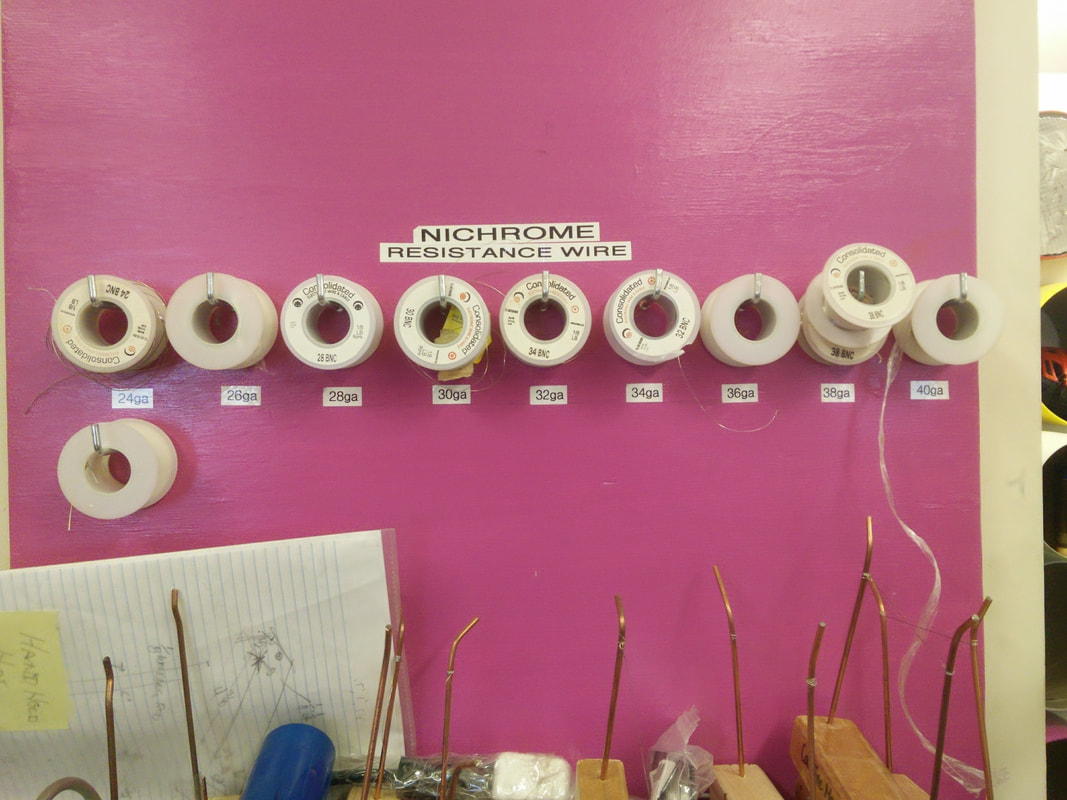
- Rolls and spools can be hung on bars and hooks through the hole in the middle
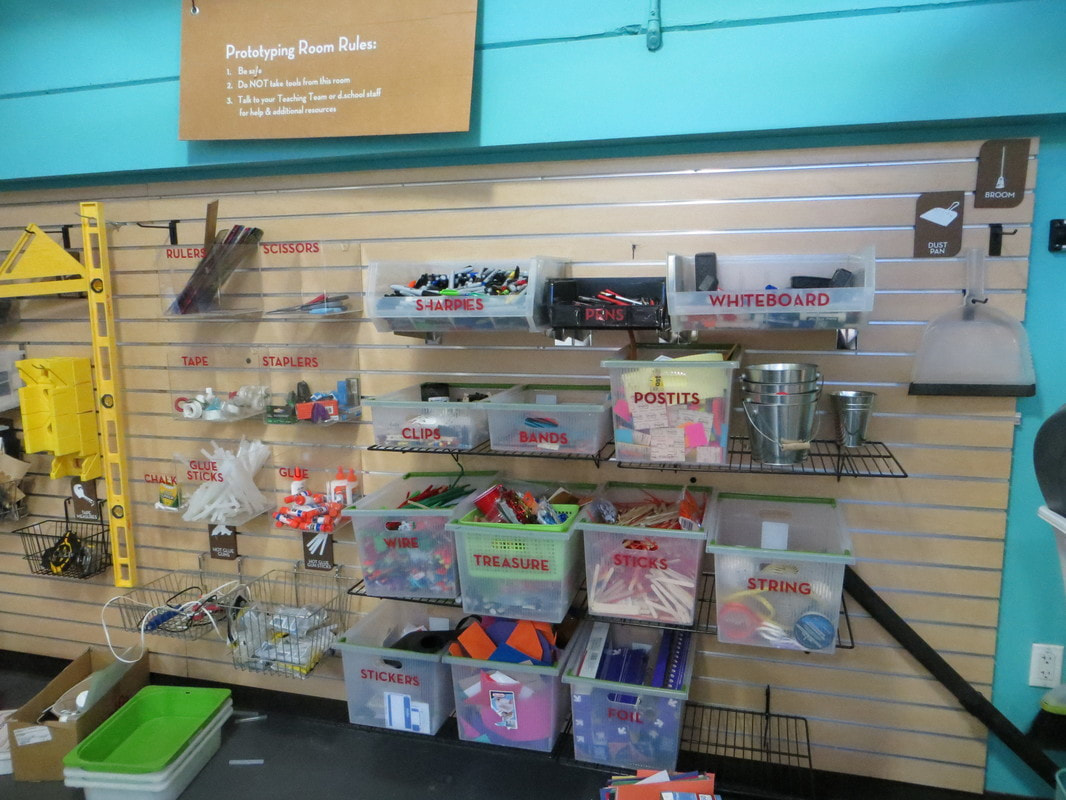
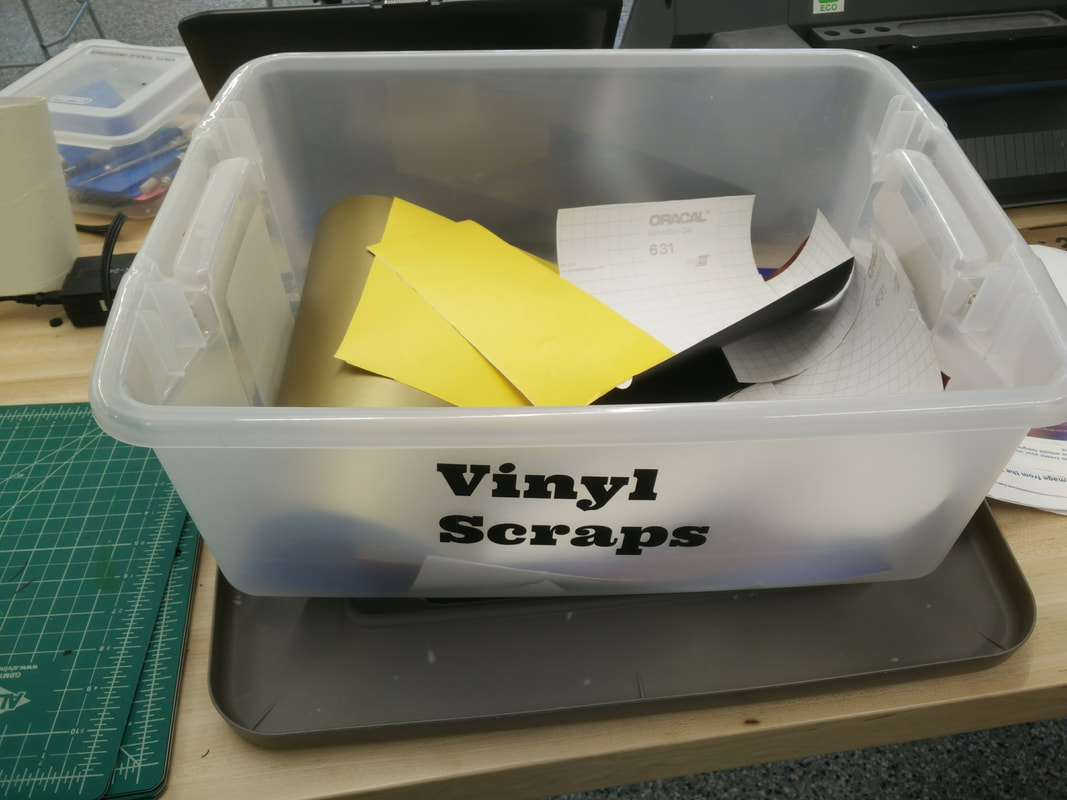
- Smaller materials can go in bins of various sizes - small bins can be grouped using racks or bigger bins












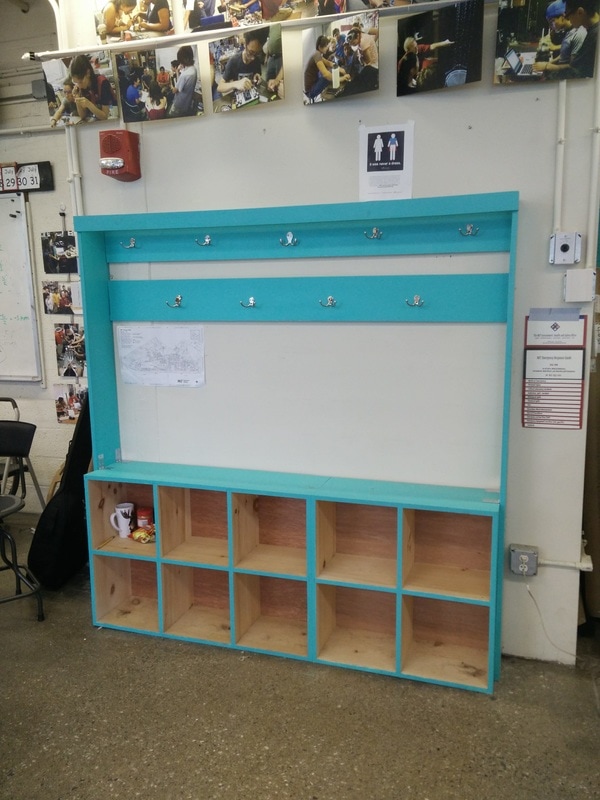
Personal Storage
Tidy workspaces are safe workspaces - plan personal storage areas for your students to keep their belongings out of the way while they work.

Safety
Safety in the shop is critical. Therefore, every Makerspace should have
- Clear, age-appropriate warnings and reminders on display
- Safe handling procedures for all equipment
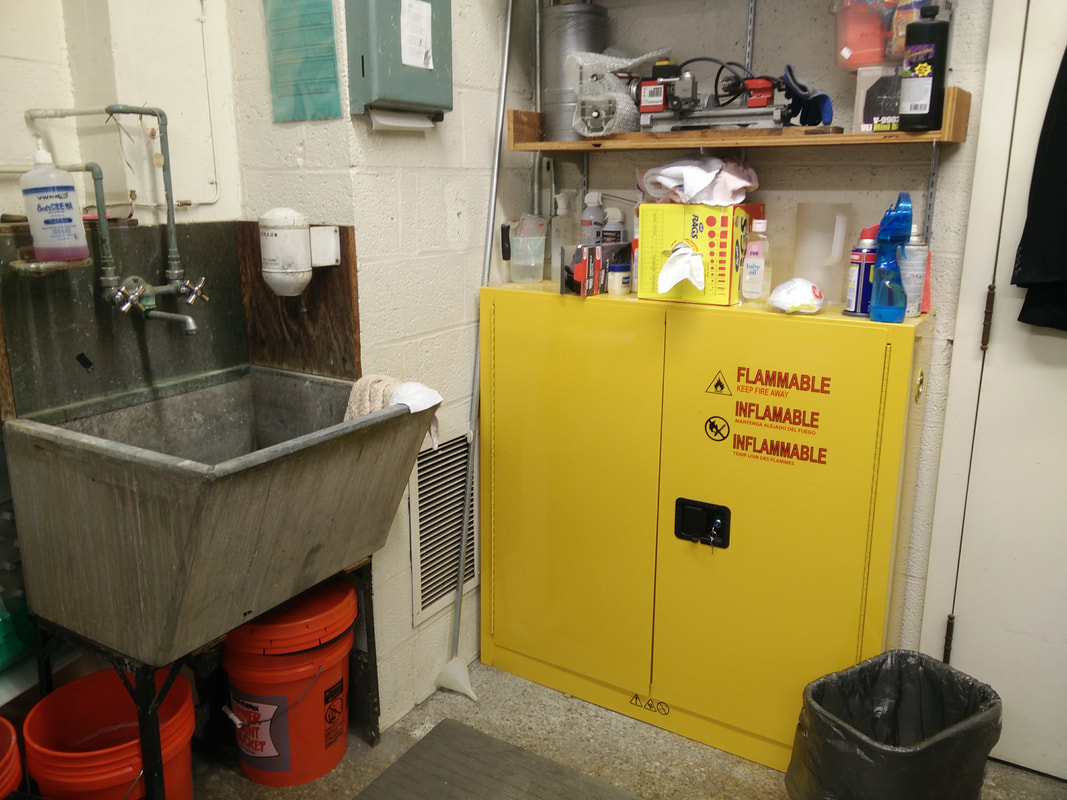
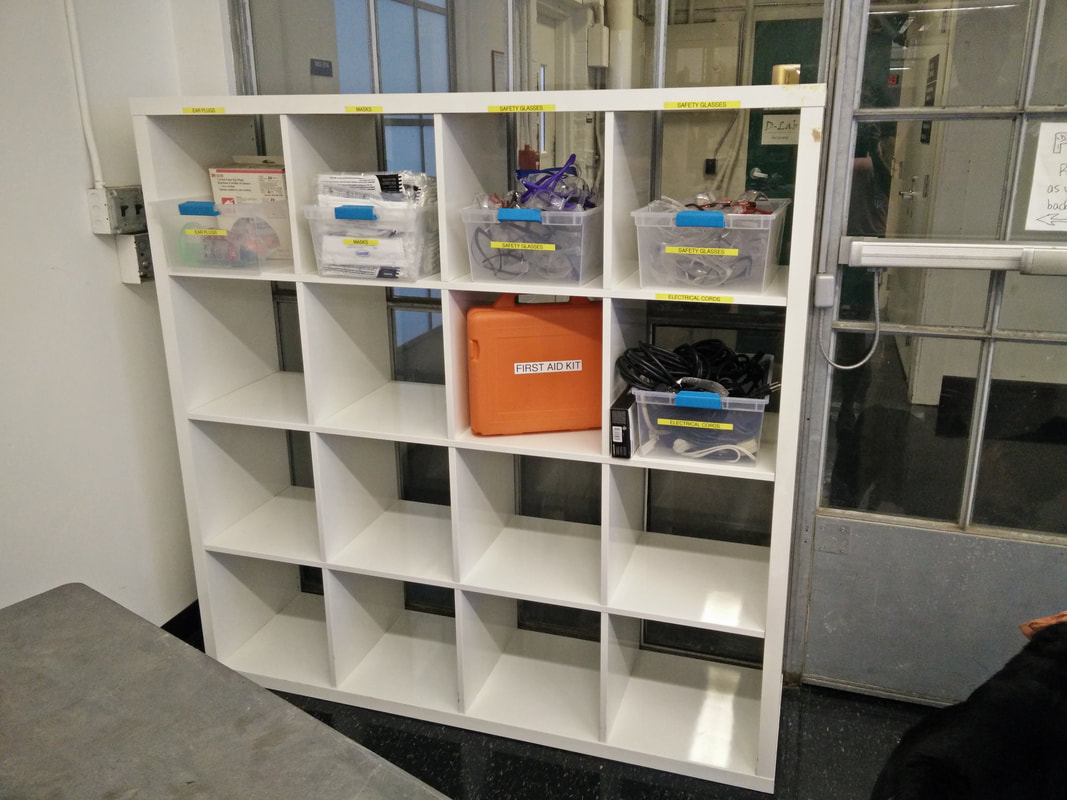
- First aid supplies - kit, eye wash station, etc. as needed
- Personal protective equipment (PPE) and basic safety supplies - depending on the tools in your shop that could mean work gloves, disposable gloves, ear protection, safety glasses and masks



Displays and signage
How-to signs and reminders
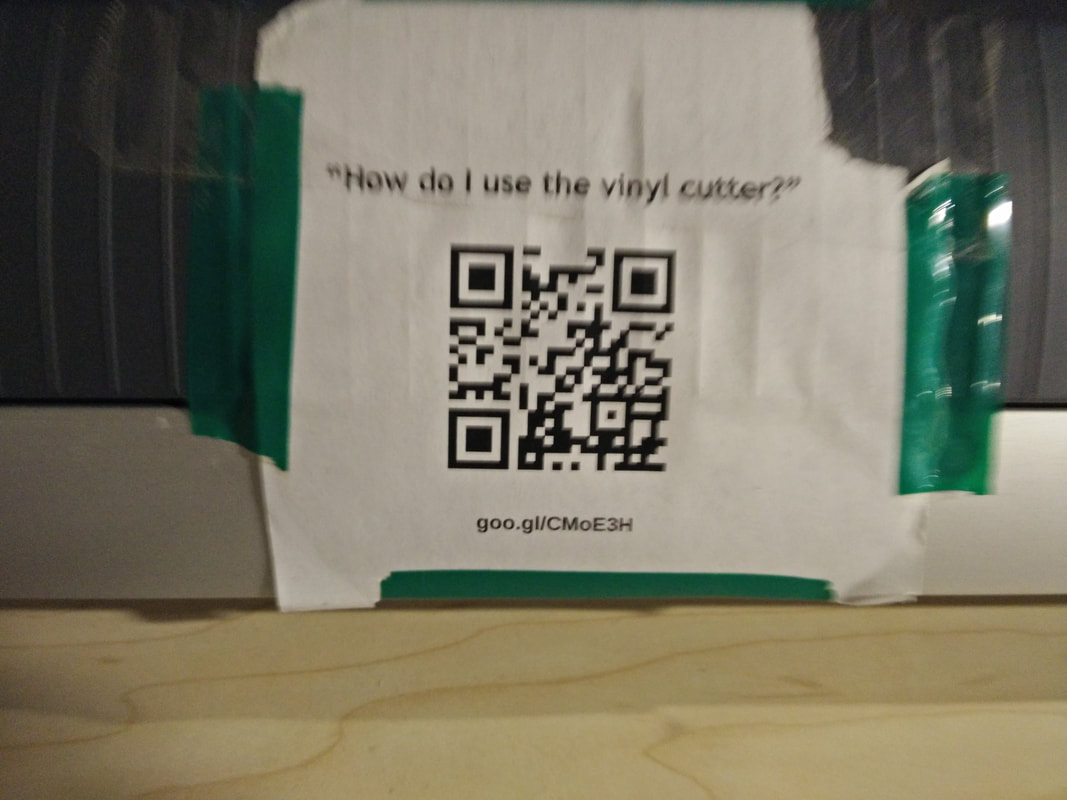
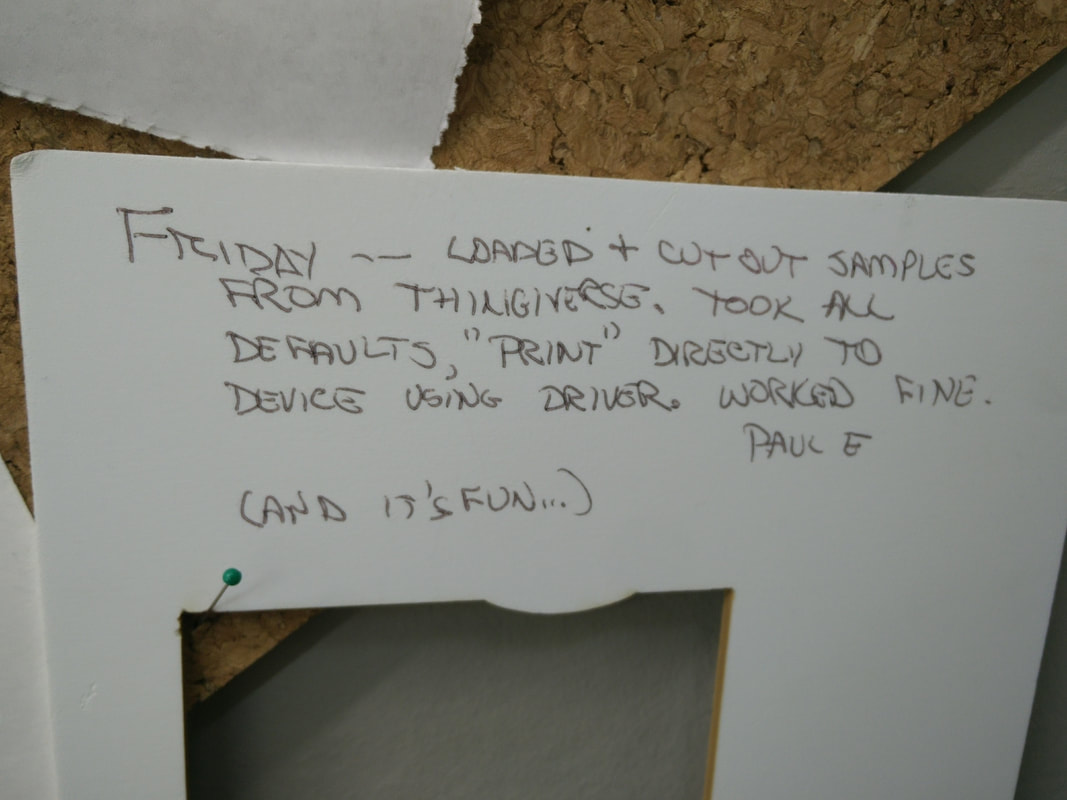
Reminders are critical in a space with multiple tools and resources - sometimes the more you learn the more you can forget. Signs can be simple words and pictures on paper, 3-D objects, or interactive web platforms.



Community Building Signs
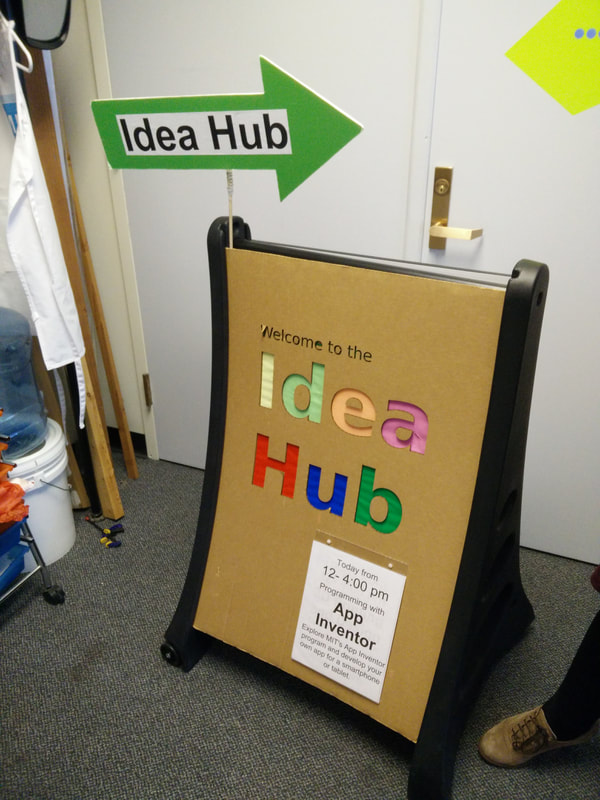
Signs that welcome users, identify staff, celebrate students, facilitate student-teacher communication, and reinforce a sense of belonging help to create a collaborative atmosphere.



Project Display
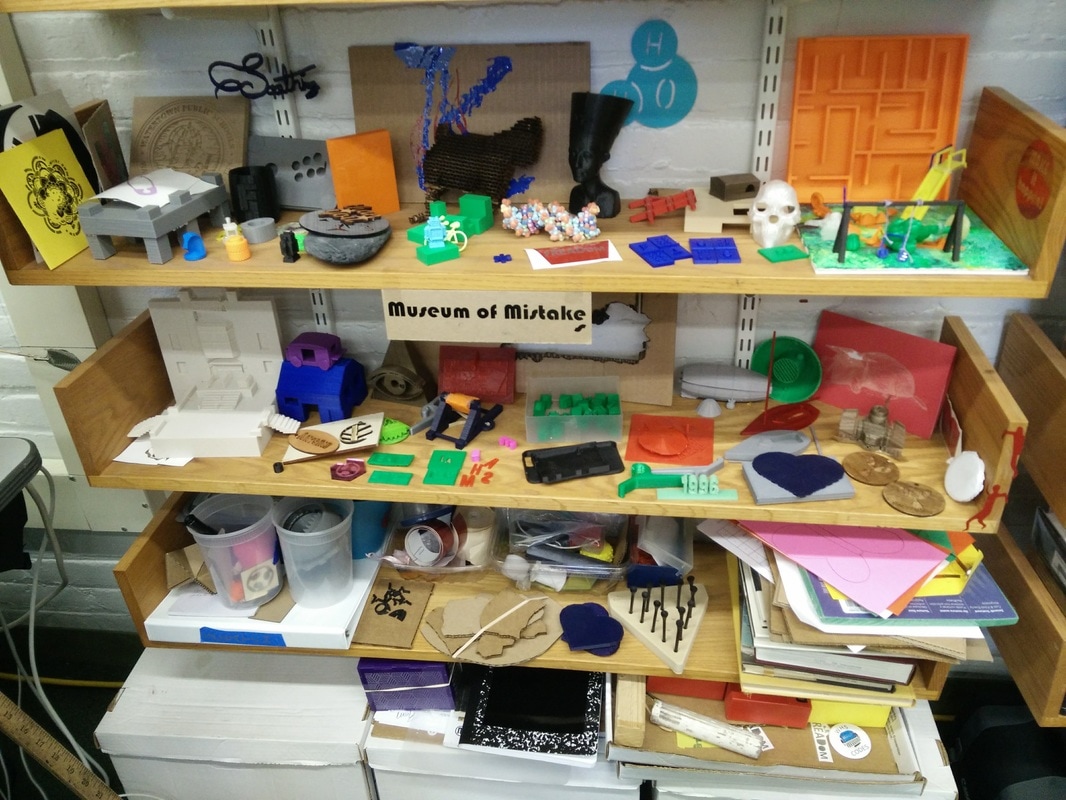
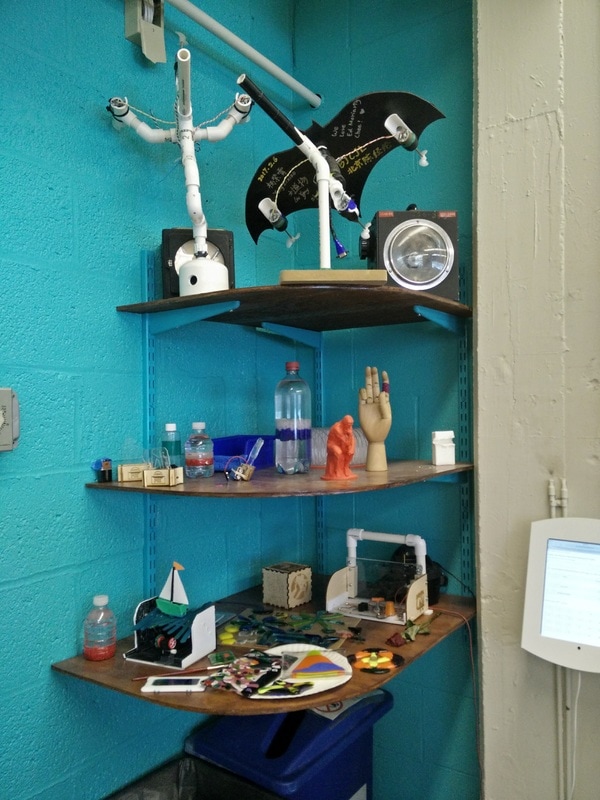
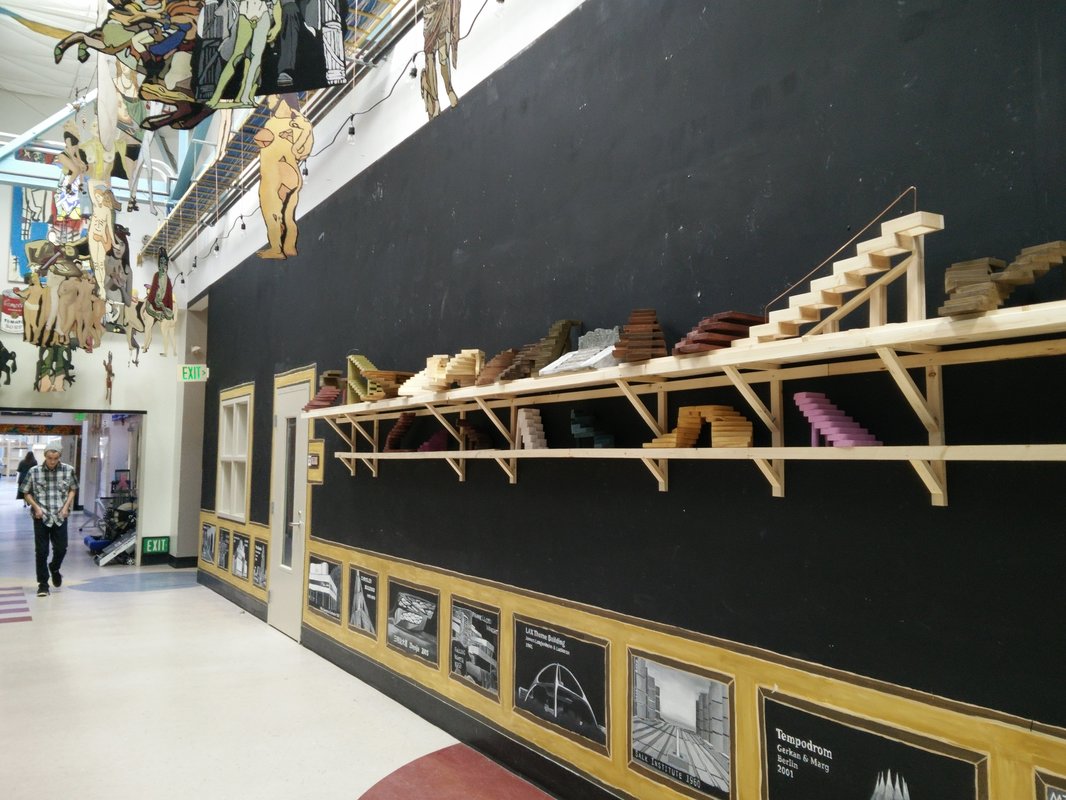
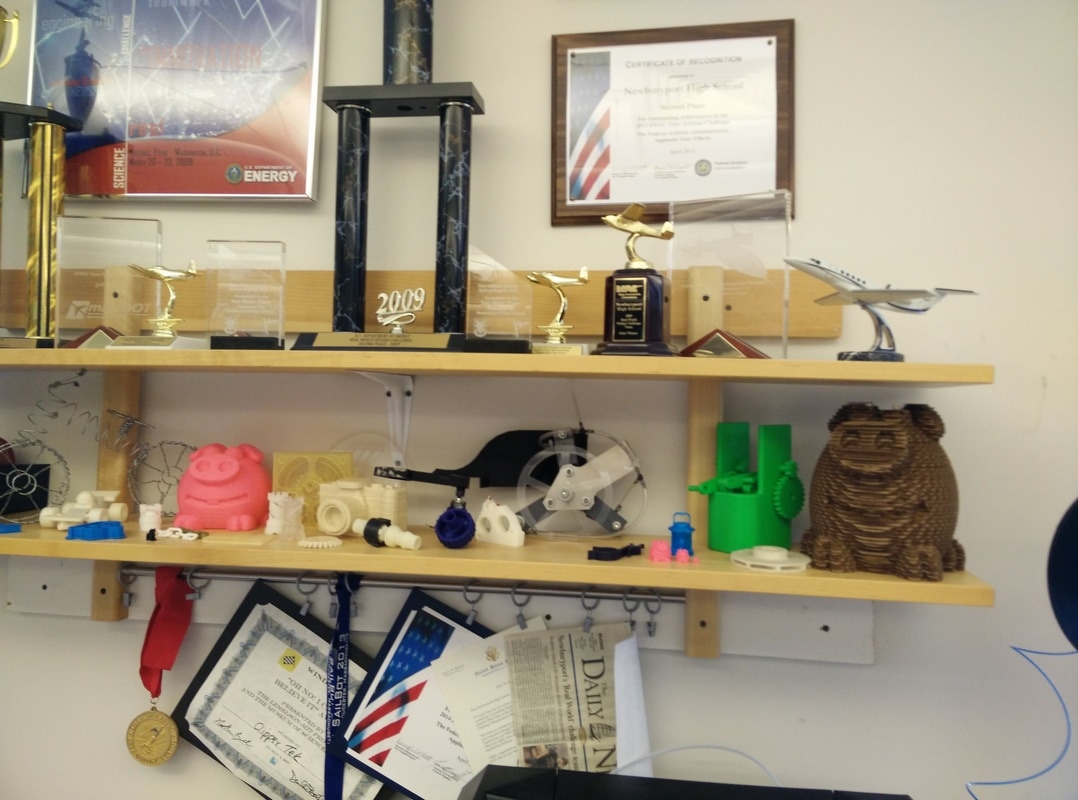
Space is at a premium in many schools, and the Makerspace is no exception. However, if you can, it's helpful to designate spaces in or around the Makerspaces to proudly display finished projects. Show off a few smashing successes (and educational failures) on display to inform and inspire future creations.




Maker Tools and Materials
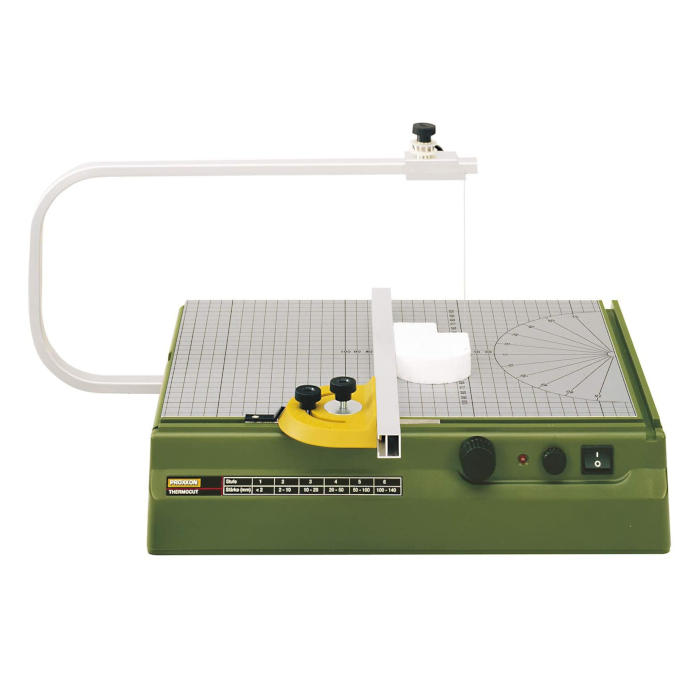
Choosing the proper tools and materials to execute a maker's goals is extremely important, and the "right choice" will vary from one project to the next. Being able to determine which tools and materials are appropriate for any given application is as important to the process of creation as the ability to use them. Typically, the first decision is what materials to use, and the second is what tools work best with the chosen materials.
Training and Supervision
Learning to use equipment properly and safely will enable staff and student makers to be more effective with their time as well as better collaborators and more empowered designers.
In addition to being able to safely operate the equipment in the space, leaders of makerspaces must be able to create safety guidelines and administer a training system. Training all students on all of the tools they'll need to use is no small task. Students who are competent on tool usage can then reinforce their skills by sharing and teaching others.For a safe and efficient makerspace:
+ Students should receive training on a tool before using it and have a refresher guide available forfuture uses.
+ Students should demonstrate competency before being approved for operation of a tool.
+ Staff should be attentive and available to answer any questions.
+ Students should feel free to report unsafe or improper use of a tool.
Workshop Safety, Training, and Operations
The documents below were adapted from documents used by the MIT department of Environmental Health and Safety. Each link will open as a download (editable .docx format) for you to use as-is or adapt to meet your specific needs.
General Shop Safety Guidelines
Facilities/Operations Guidelines
Safe Tool Operation Guidelines
Shop Tool Training Resources
Training Guides, Competency Checklists, and Refresher Guides for each common hand fabrication tool found in a K-12 makerspace. These guides were created by the K-12 Maker team at the MIT Edgerton Center.







.svg)