Explore

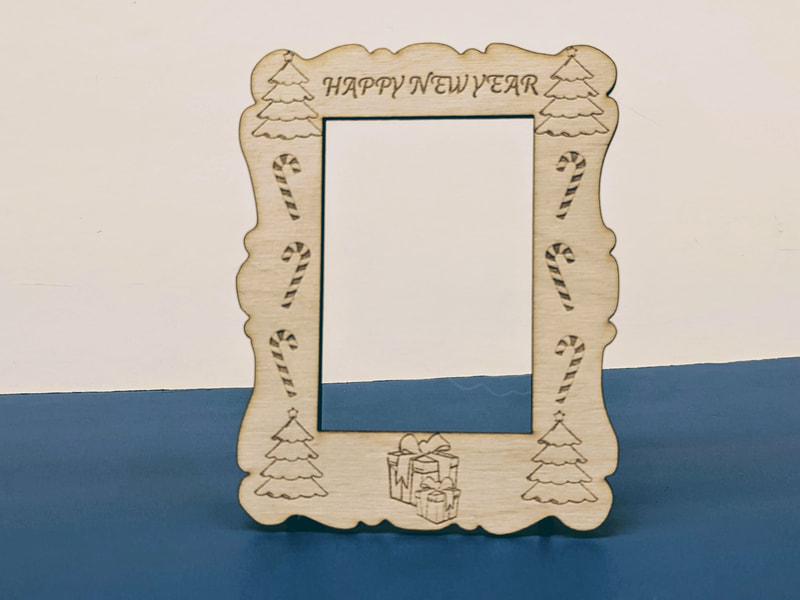
Students use 2D graphics tools to design a custom picture frame. The example shown above celebrates the winter holiday season.
Laser cutter
Graphic design tools (such as Vectr, Canva, Google Slides, or Cuttle)
Wood, acrylic, or cardstock for laser cutter
Students use a vector editing program like Vectr (vectr.com), Canva (canva.com), or Cuttle (cuttle.xyz) to design a custom picture frame to celebrate a season, a special occasion, or personal growth and achievements.
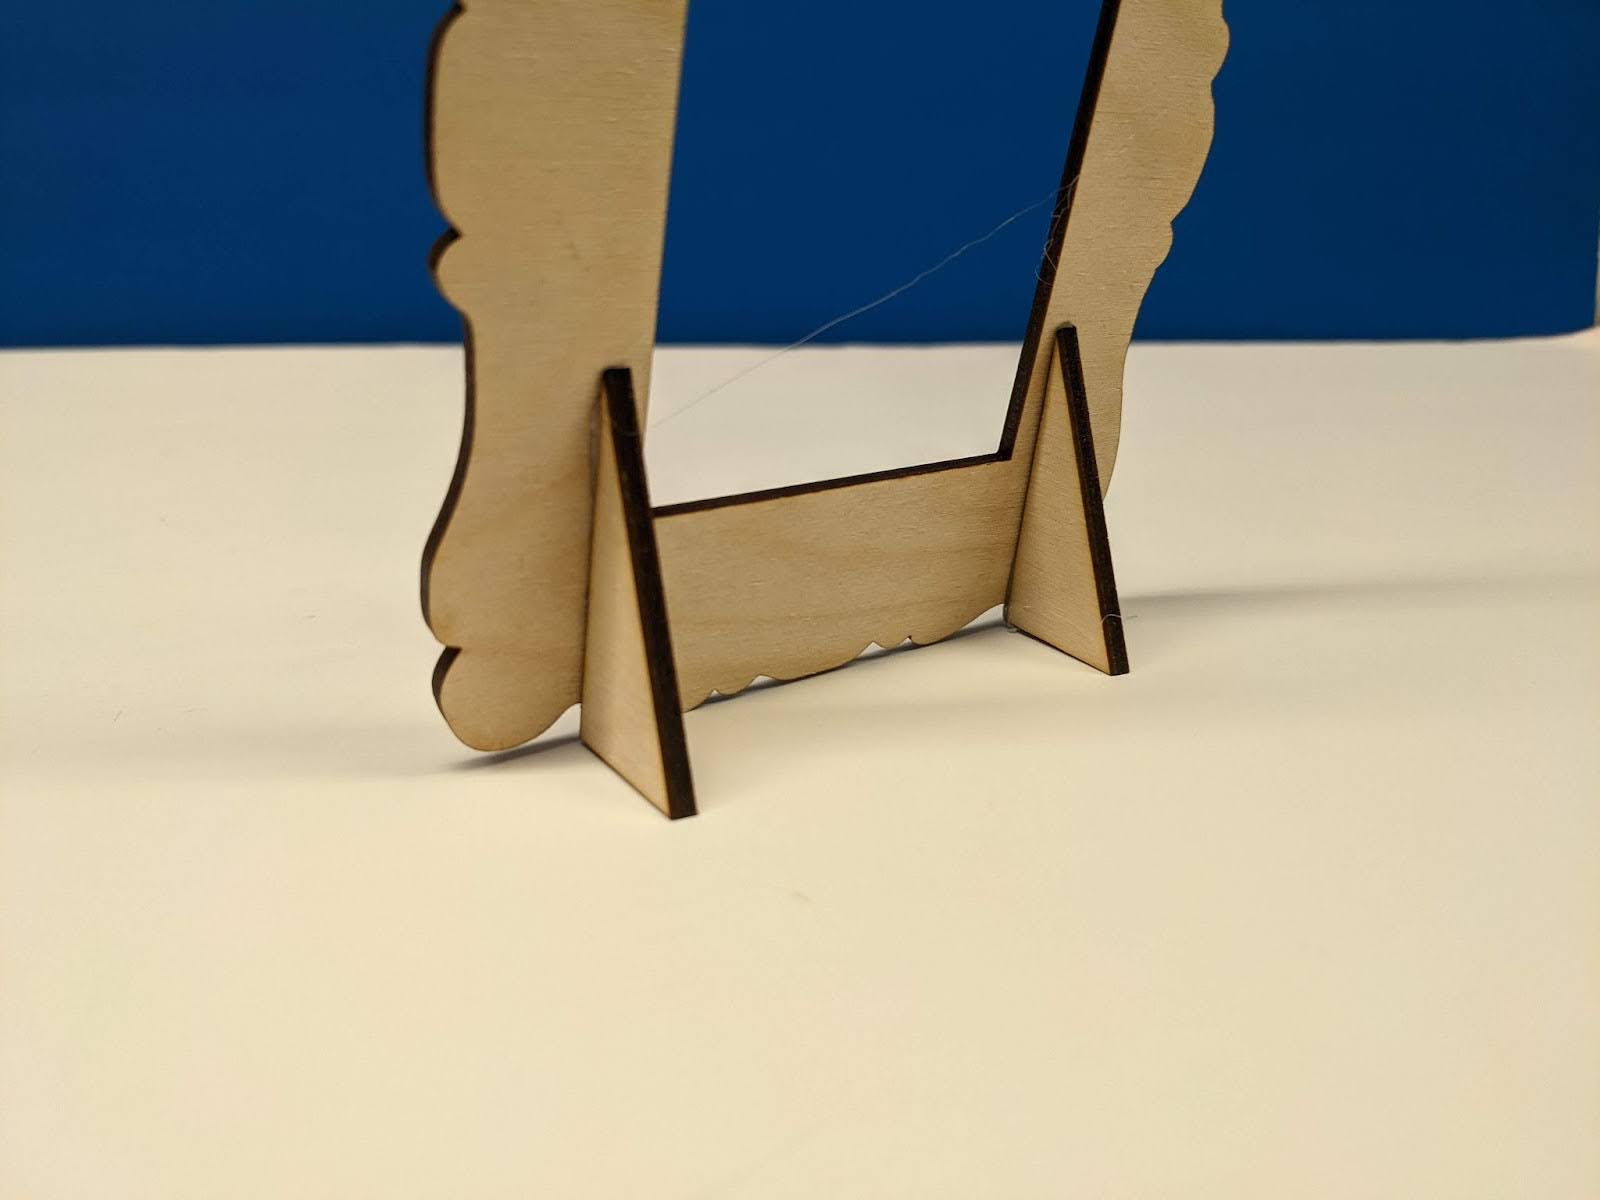
Add images to an existing frame design, or start from scratch. Use graphics from online libraries like The Noun Project, or digitize hand-drawn designs using a tool like picsvg.com, or the Glowforge laser cutter. Glue cut triangles to the back of the frame for it to stand on its own, or design a stand that attaches to the bottom with notches. Frames can be cut from wood or acrylic using a laser cutter, or from heavy-duty cardstock using a vinyl cutter.
This project provides students an opportunity to be expressive while learning or honing their graphics and fabrication skills, as well as create a special memento of their learning or growth.
Have a question or want to share your Makes with us? Contact us!
k12maker@mit.edu


.svg)
We help educators integrate Maker/STEAM projects into regular academic classes, making their curriculum more engaging, promoting "21st-century" durable skills, and fostering literacy in creative technologies used by professionals.