Explore

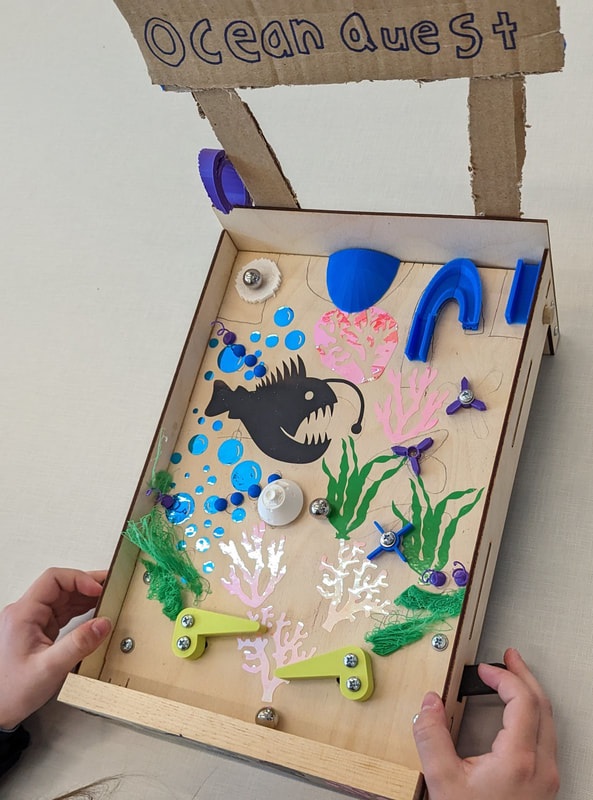
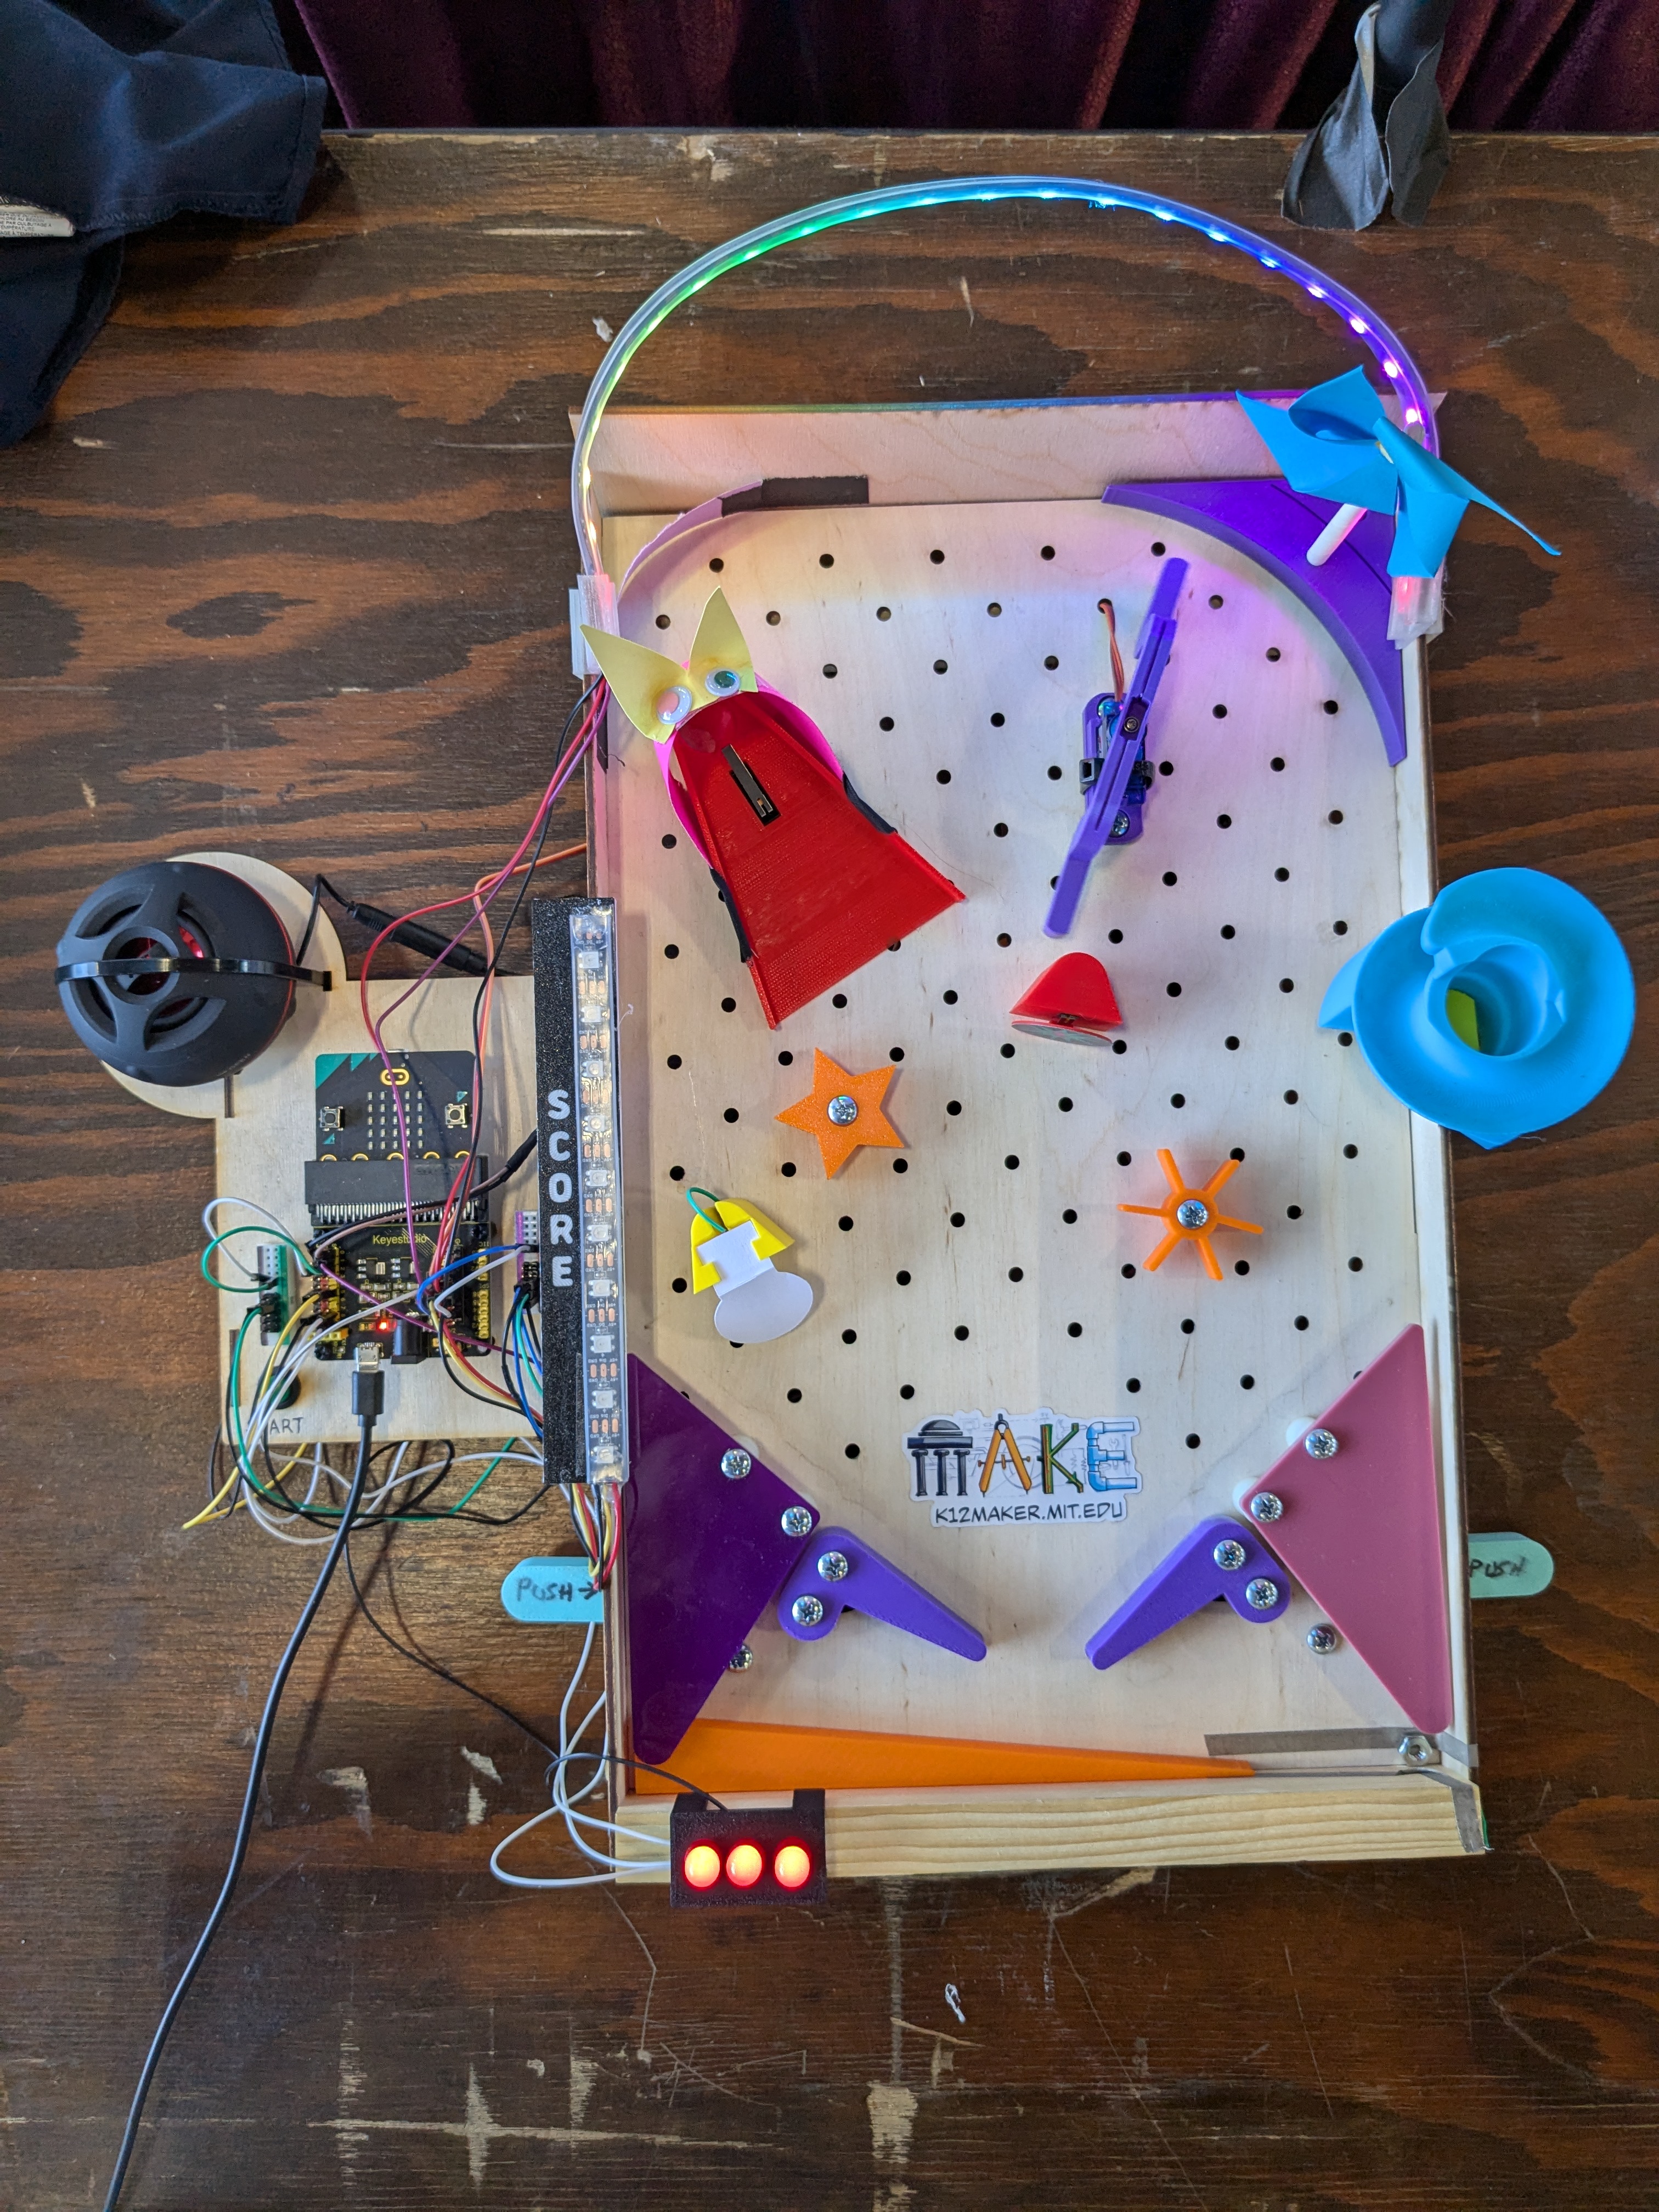
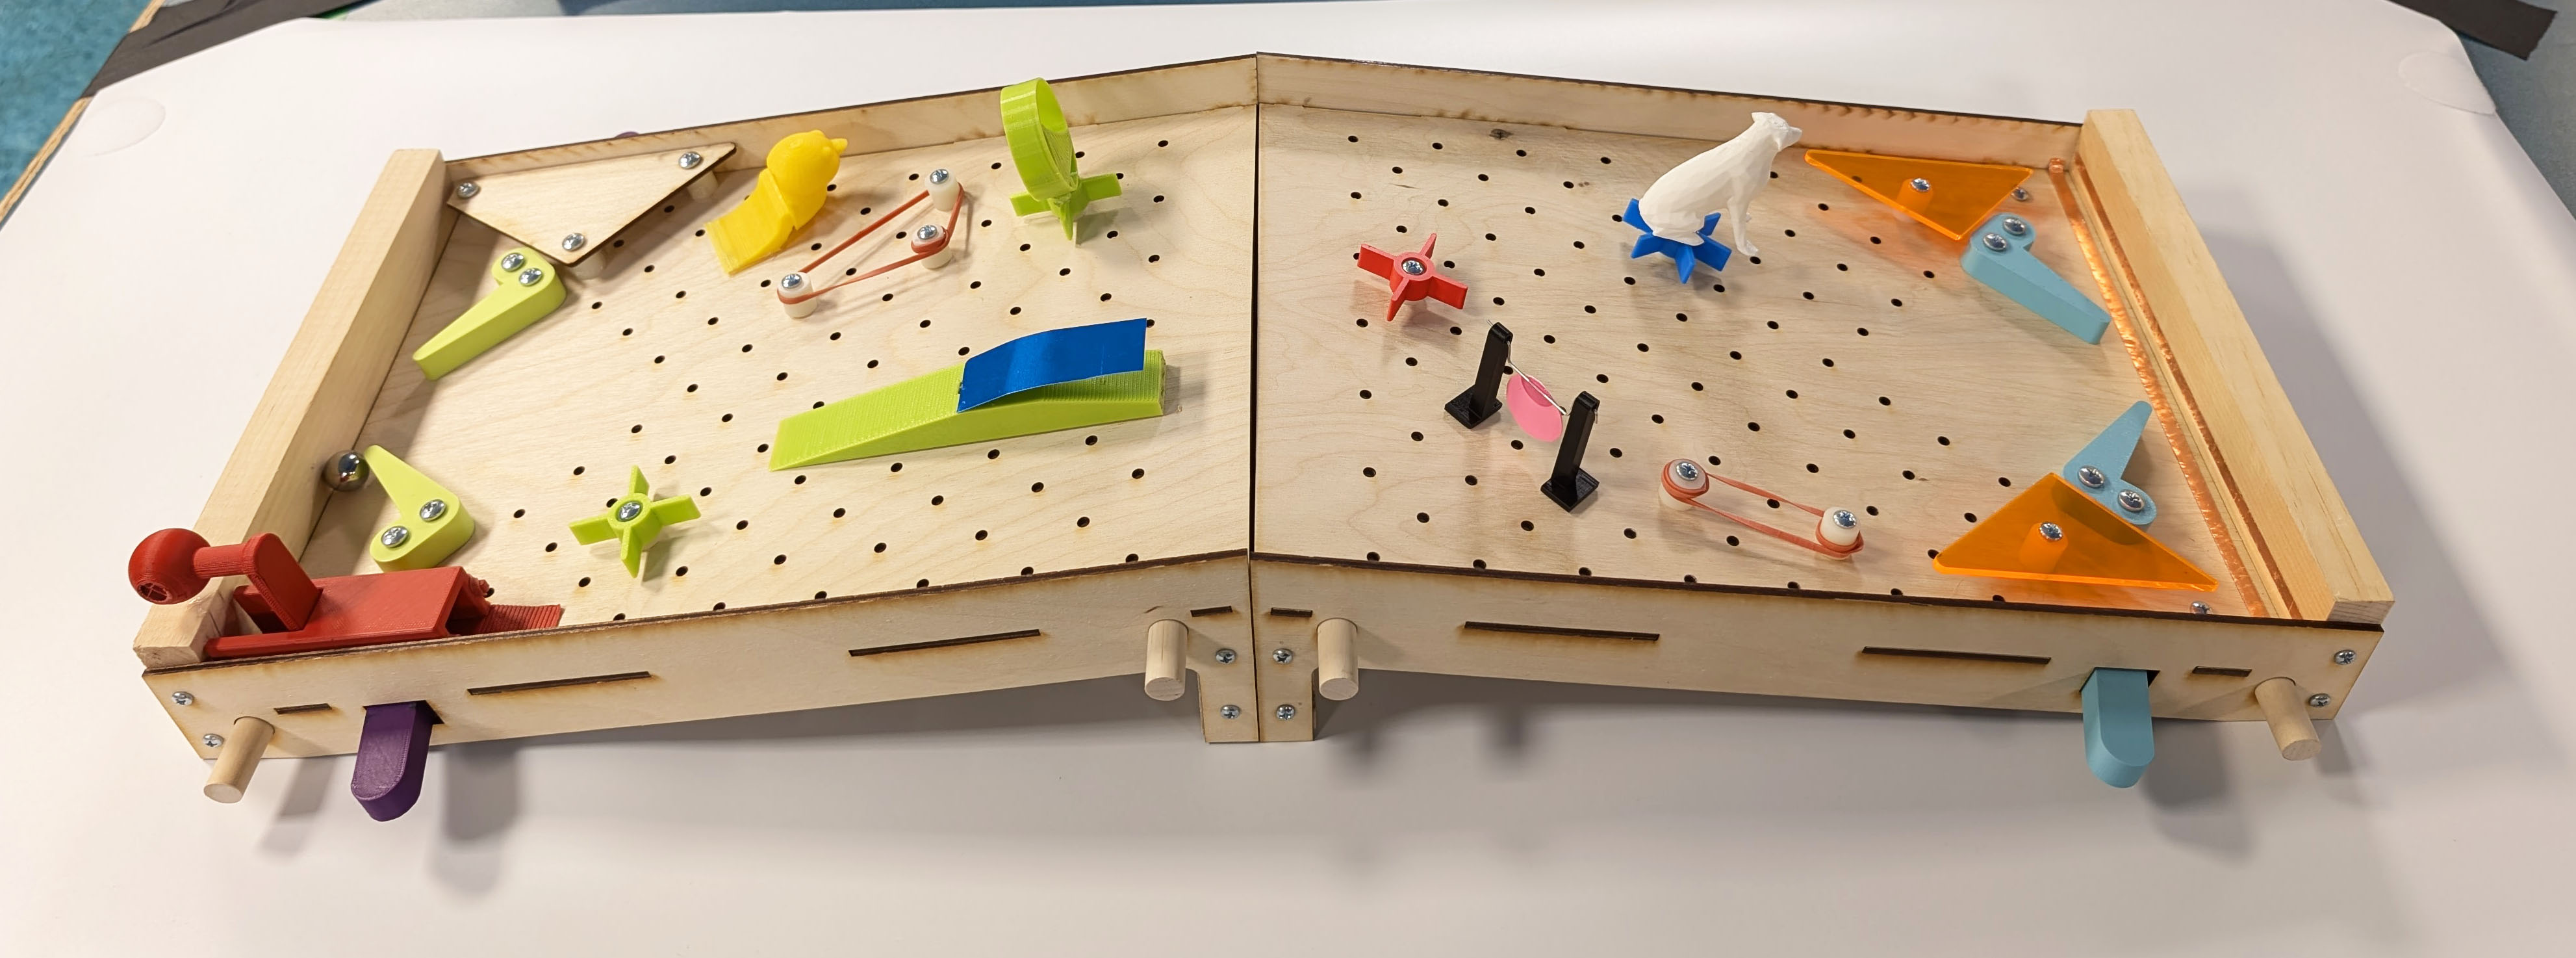
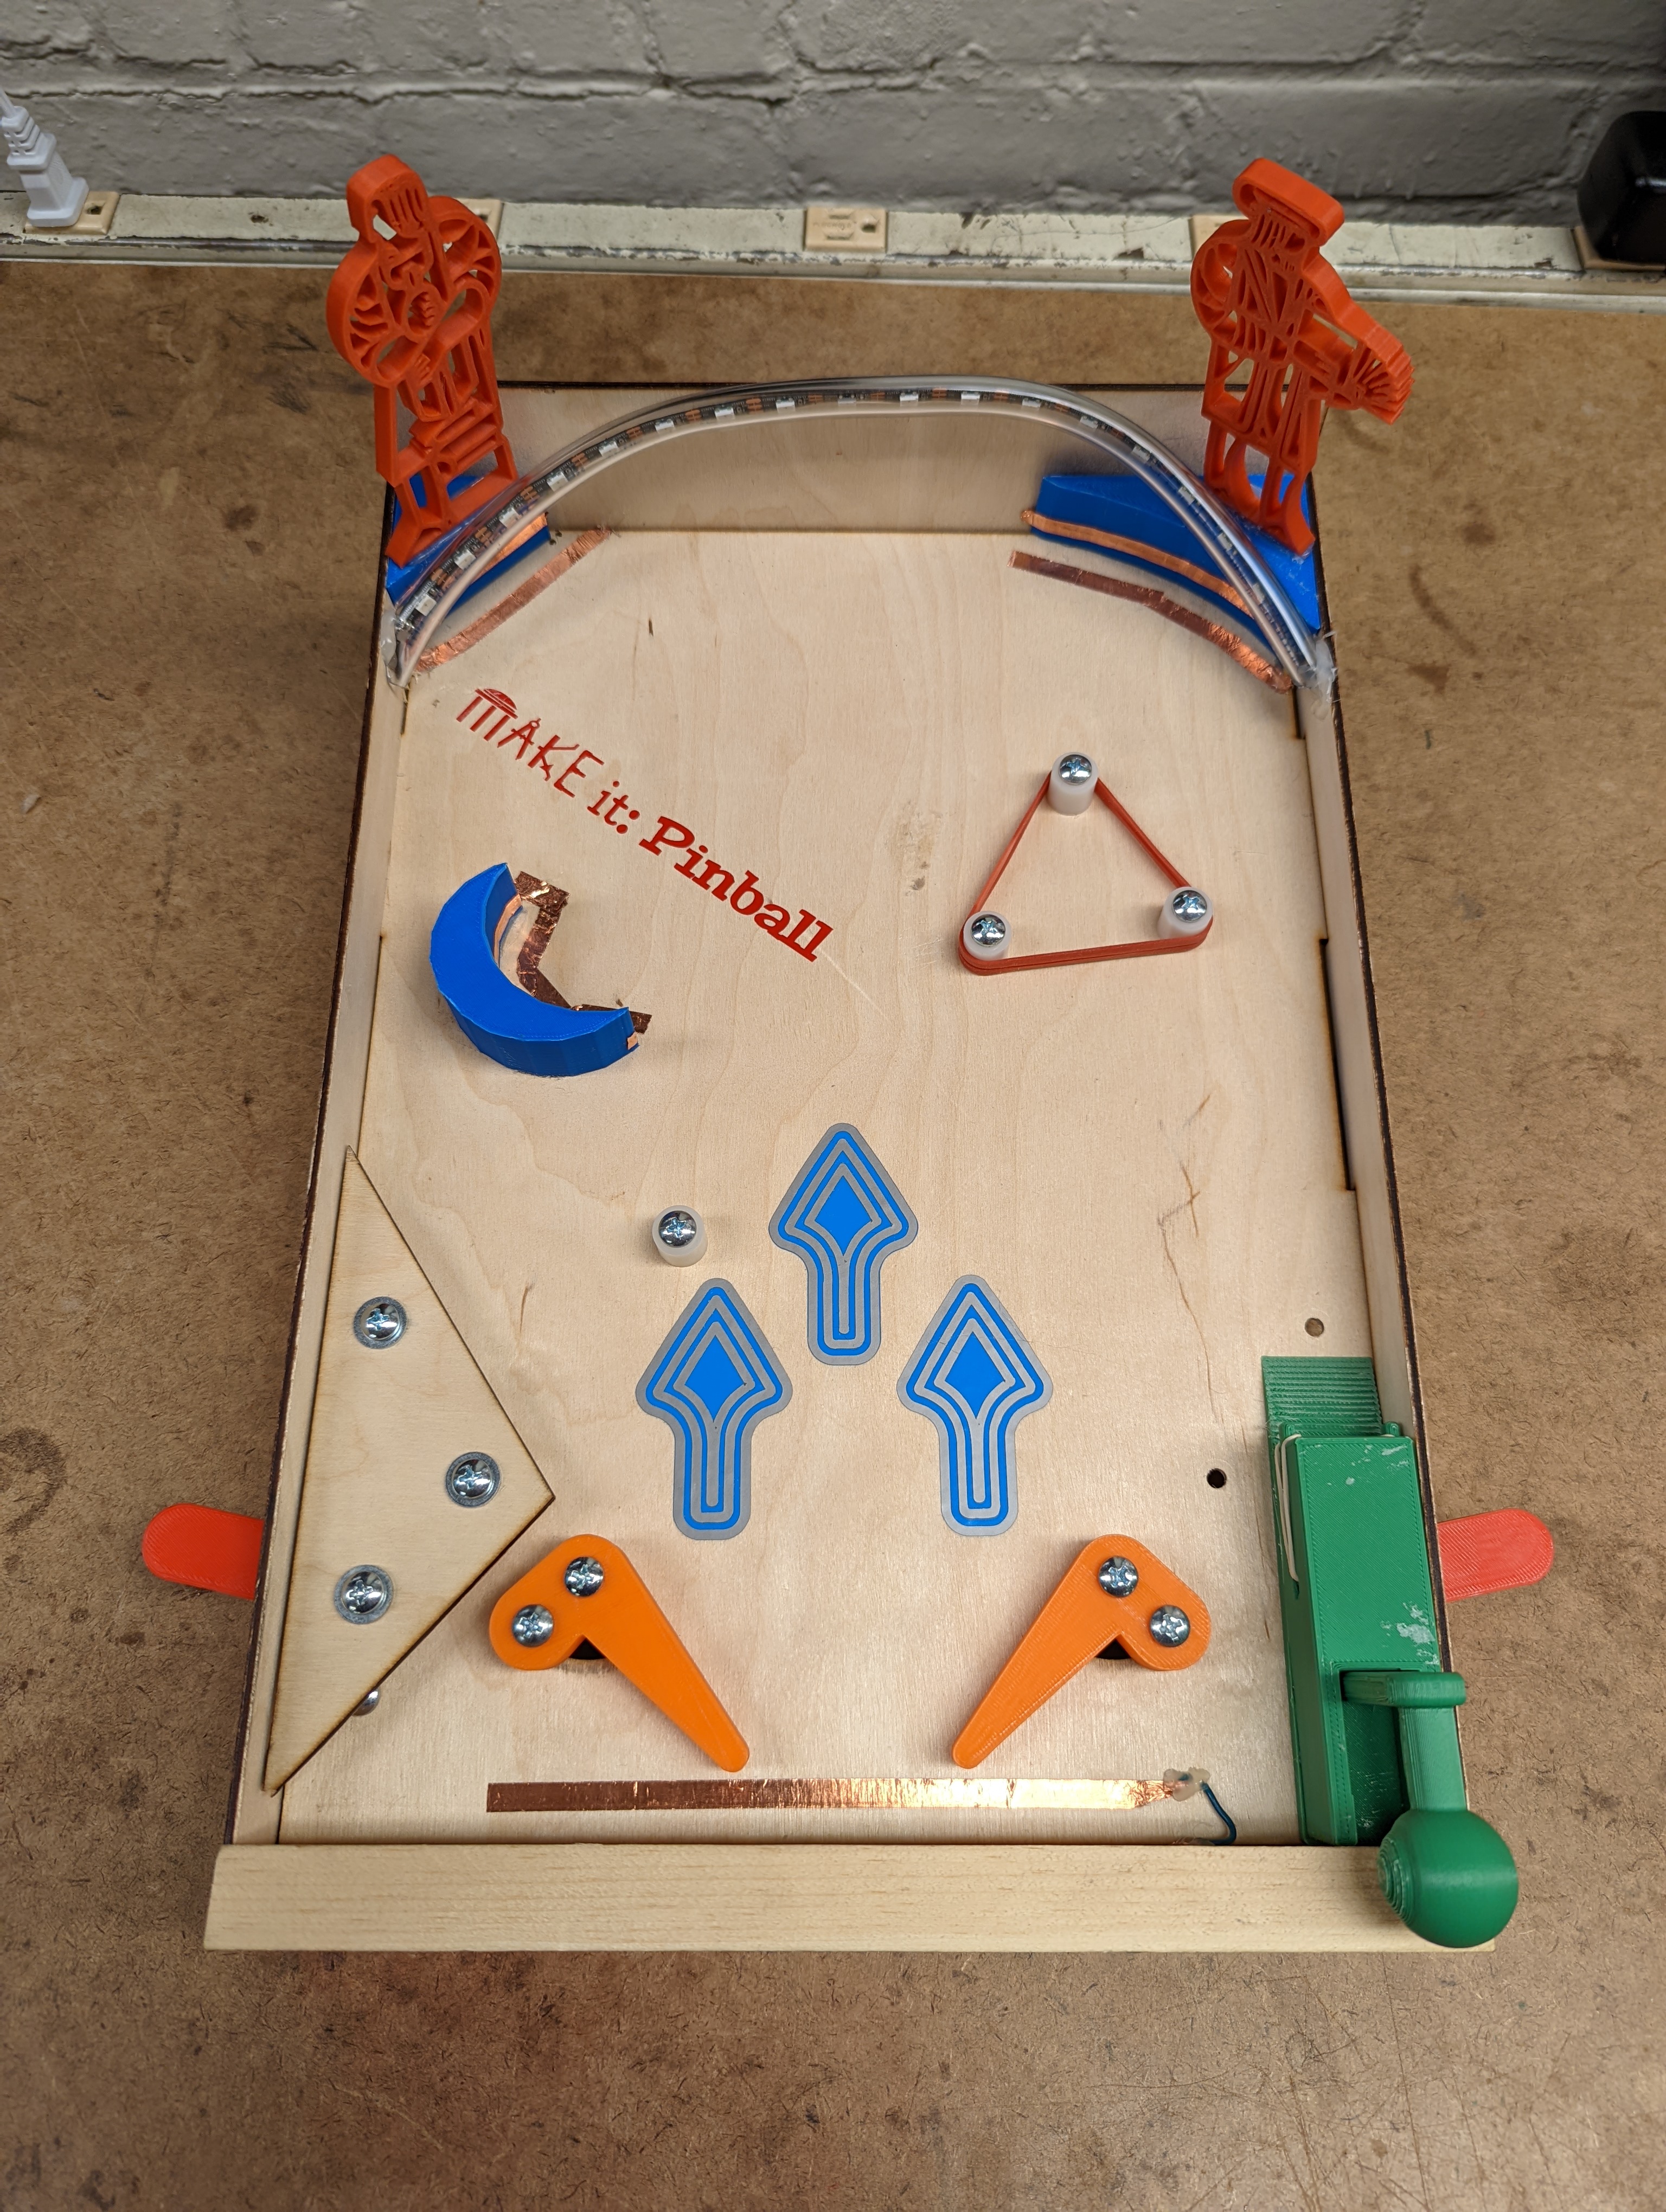
Laser cut, 3D print, make by hand, and even code to create a custom pinball game for one or two players.
Phillips Screwdriver
Pliers or 3/8” Wrench/Nut Driver
3D Pinter
Laser Cutter
Birch plywood
3D printer filament
1"x3" pine lumber
1/2" dowels
nuts, bolts, screws
see complete parts list, build guides, and 3D models on the DIY Pinball page
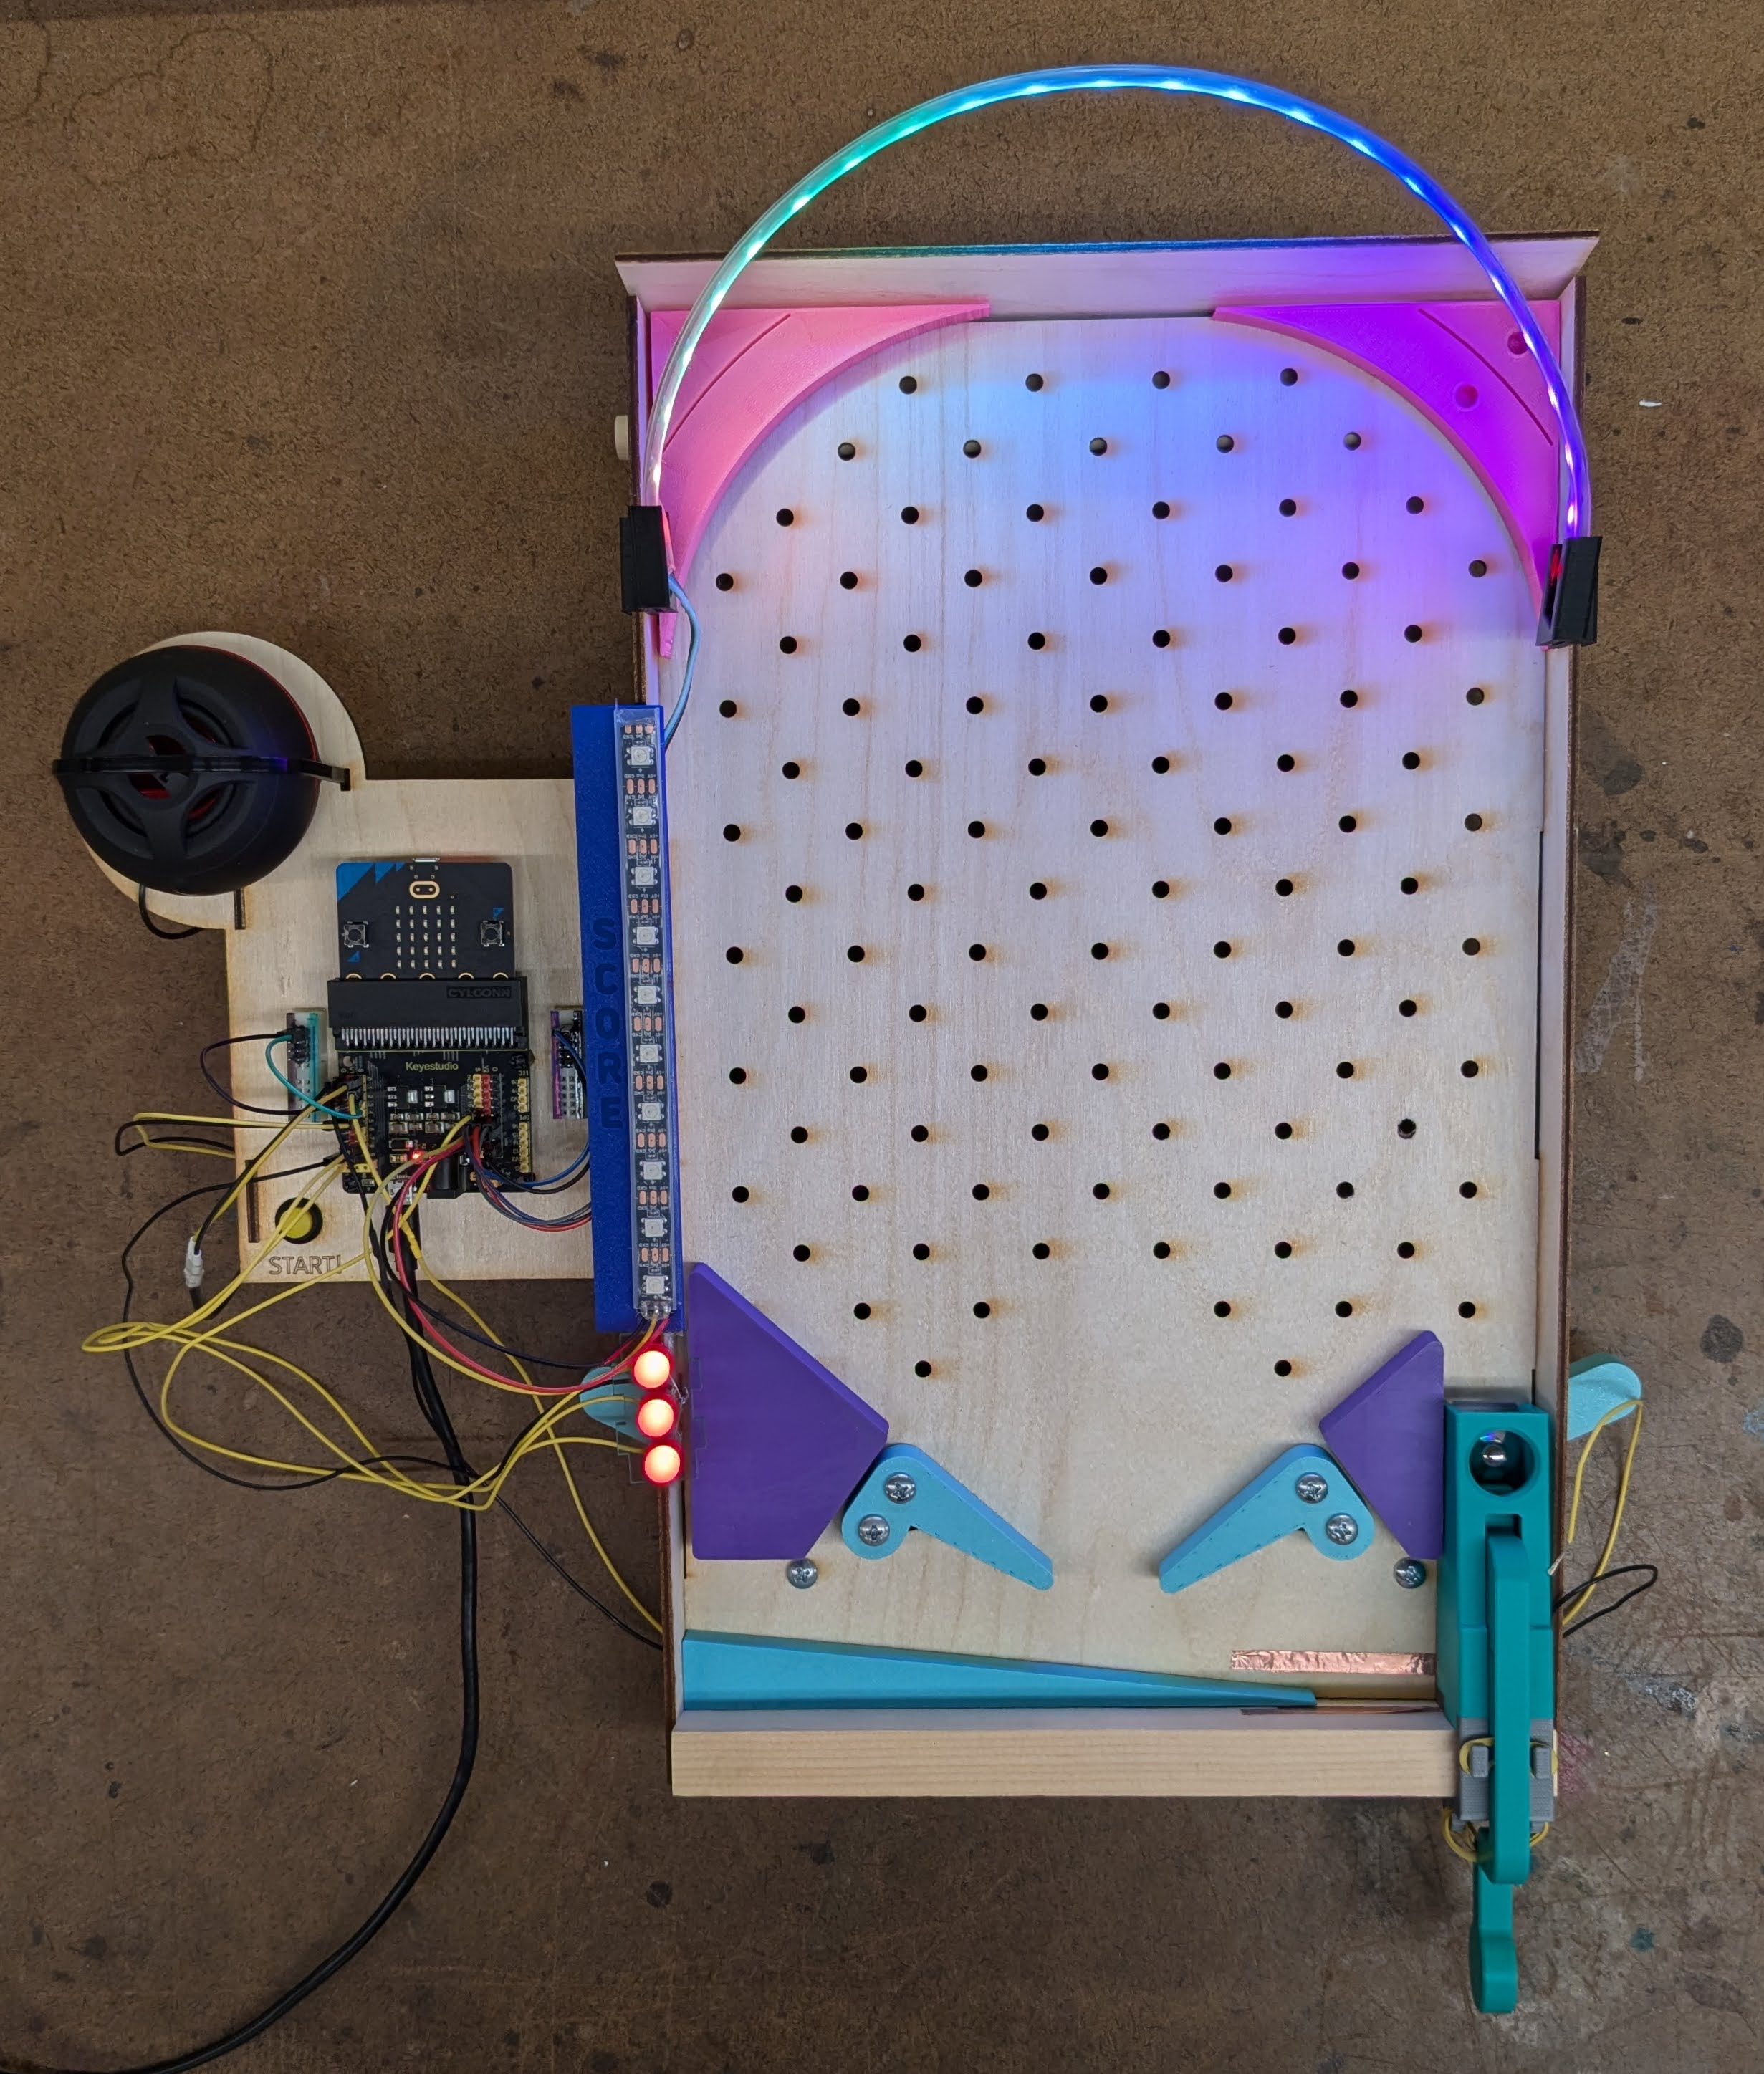
Start with a prototyping grid playfield and add your own features like bumpers, ramps, lights and sounds. Once your design is play-tested, switch to a solid playfield and permanently install features, add a theme, graphics, and decorations to bring your game to life.
This is a great starter project for Makers in and out of the classroom: laser-cut the plywood playfield; use shop tools to cut lumber and assemble the base; 3D print your own set of flippers and buttons; design and fabricate any number of creative obstacles, features and decorations; code your own scoring, sounds, lights and motion; express yourself through the theme for your machine; collaborate with others for 2-player mode.
.jpeg)
Have a question or want to share your Makes with us? Contact us!
k12maker@mit.edu


.svg)
We help educators integrate Maker/STEAM projects into regular academic classes, making their curriculum more engaging, promoting "21st-century" durable skills, and fostering literacy in creative technologies used by professionals.